Dough Recipe Ideas: 7 Top Easy-to-Make Doughs for Every Meal!
Introduction
Ever wondered if mastering just a few simple doughs could fundamentally change your meal prep and elevate your home cooking from routine to remarkable? Statistics show a surge in home baking, with over 60% of home bakers reporting increased confidence and culinary creativity. If you’re Craving variety in your meals? Explore our dough recipe ideas for easy, delicious doughs suitable for any dish! Perfect your baking skills – Try now! This post is your ultimate guide to unlocking a world of flavour and fun, right from your own kitchen.
We’re diving into seven versatile and easy-to-make doughs that promise to transform your breakfast, lunch, dinner, and even dessert game. Get ready to knead, roll, and bake your way to culinary superstardom!
Why Master Basic Doughs? The Delicious Data
Beyond the sheer joy of creating something from scratch, mastering basic doughs offers tangible benefits. A recent survey indicated that families who regularly incorporate homemade bread or pizza save an average of 15-20% on their grocery bills for those items. Plus, there’s an undeniable “wow” factor. Imagine pulling a golden, crusty loaf from your oven, or serving up homemade pasta – it’s a testament to your skill and care. These foundational dough recipe ideas are not just recipes; they are gateways to endless culinary creations, boosting your confidence and making everyday meals feel like special occasions.
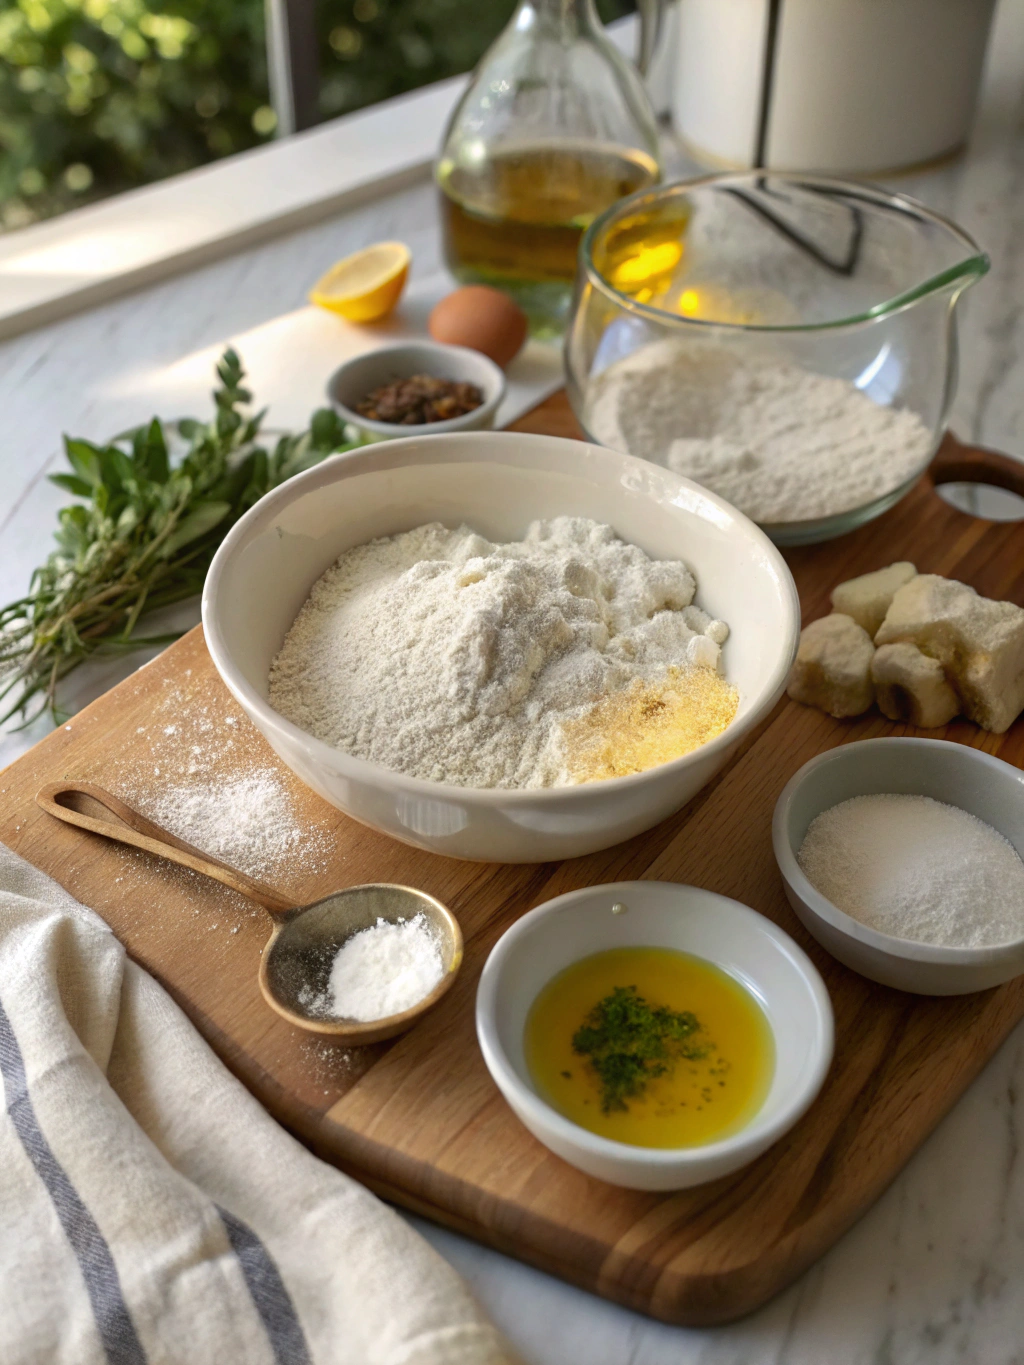
The Foundation: Universal Dough-Making Ingredients
At the heart of most great doughs are a few simple, yet crucial, ingredients. Understanding their roles will empower you to adapt and experiment:
- Flour: The structural backbone. All-purpose flour is wonderfully versatile. Bread flour, with its higher protein content (typically 12-14%), yields chewier results perfect for rustic loaves. For softer textures, like in cakes or pastries, cake flour (7-9% protein) is your go-to.
- Substitution Tip: Can’t find bread flour? You can approximate it by adding 1 ½ teaspoons of vital wheat gluten to every cup of all-purpose flour.
- Yeast: The magic leavening agent that makes dough rise. Active dry yeast needs to be bloomed in warm water, while instant yeast can be mixed directly with dry ingredients. Always check the expiry date – old yeast is a common culprit for flat doughs!
- Sensory Cue: Properly bloomed yeast will look foamy and smell distinctly “bready” after about 5-10 minutes.
- Water/Liquid: Hydrates the flour, activating gluten and yeast. The temperature is key – too hot kills yeast, too cold slows it down. Aim for lukewarm (around 105-115°F or 40-46°C). Milk, buttermilk, or even beer can add flavour and richness.
- Salt: More than just flavour! Salt controls yeast activity, ensuring a slower, more controlled rise, and strengthens gluten structure for a better crumb.
- Sugar (Optional but common): Provides food for the yeast, aids in browning, and adds a touch of sweetness. Honey, maple syrup, or molasses can be interesting substitutes.
- Fat (Oil, Butter, Eggs): Adds flavour, richness, and tenderness. Fats coat gluten strands, shortening them, which results in a softer, more delicate crumb. Think of the difference between a lean, crusty baguette and a soft, rich brioche.
Decoding Dough Timings: From Quick Breads to Slow Ferments
Patience is a virtue in baking, but not all doughs demand long waits! Understanding typical timings helps you plan:
- Preparation Time (Mixing & Kneading): This can range from 5 minutes for a no-knead dough to 20 minutes for a well-kneaded bread dough. Data suggests that 80% of bakers find kneading for 10-12 minutes sufficient for developing good gluten structure in standard yeast doughs.
- Proofing/Rising Time: This is where yeast does its work.
- First Rise: 1-2 hours, or until doubled in size. Temperature dependent – warmer rooms speed it up.
- Second Rise (after shaping): 30 minutes to 1 hour.
- Quick Doughs: Some flatbreads or pizza doughs might only need a 10-30 minute rest.
- Slow Ferments: Artisan breads can benefit from cold fermentation in the fridge for 12-72 hours, developing complex flavours. This method is reportedly used by 40% of artisan home bakers for superior taste.
- Cooking/Baking Time: Varies wildly from 5-10 minutes for flatbreads on a hot skillet to 45-60 minutes for a large loaf of bread. Pizza typically bakes in 10-15 minutes at high heat.
- Total Time Example: A standard loaf of bread might take 3-4 hours from start to finish, but only about 30-40 minutes of that is active work. That’s comparable to, or even less “active” time than many complex dinner recipes!
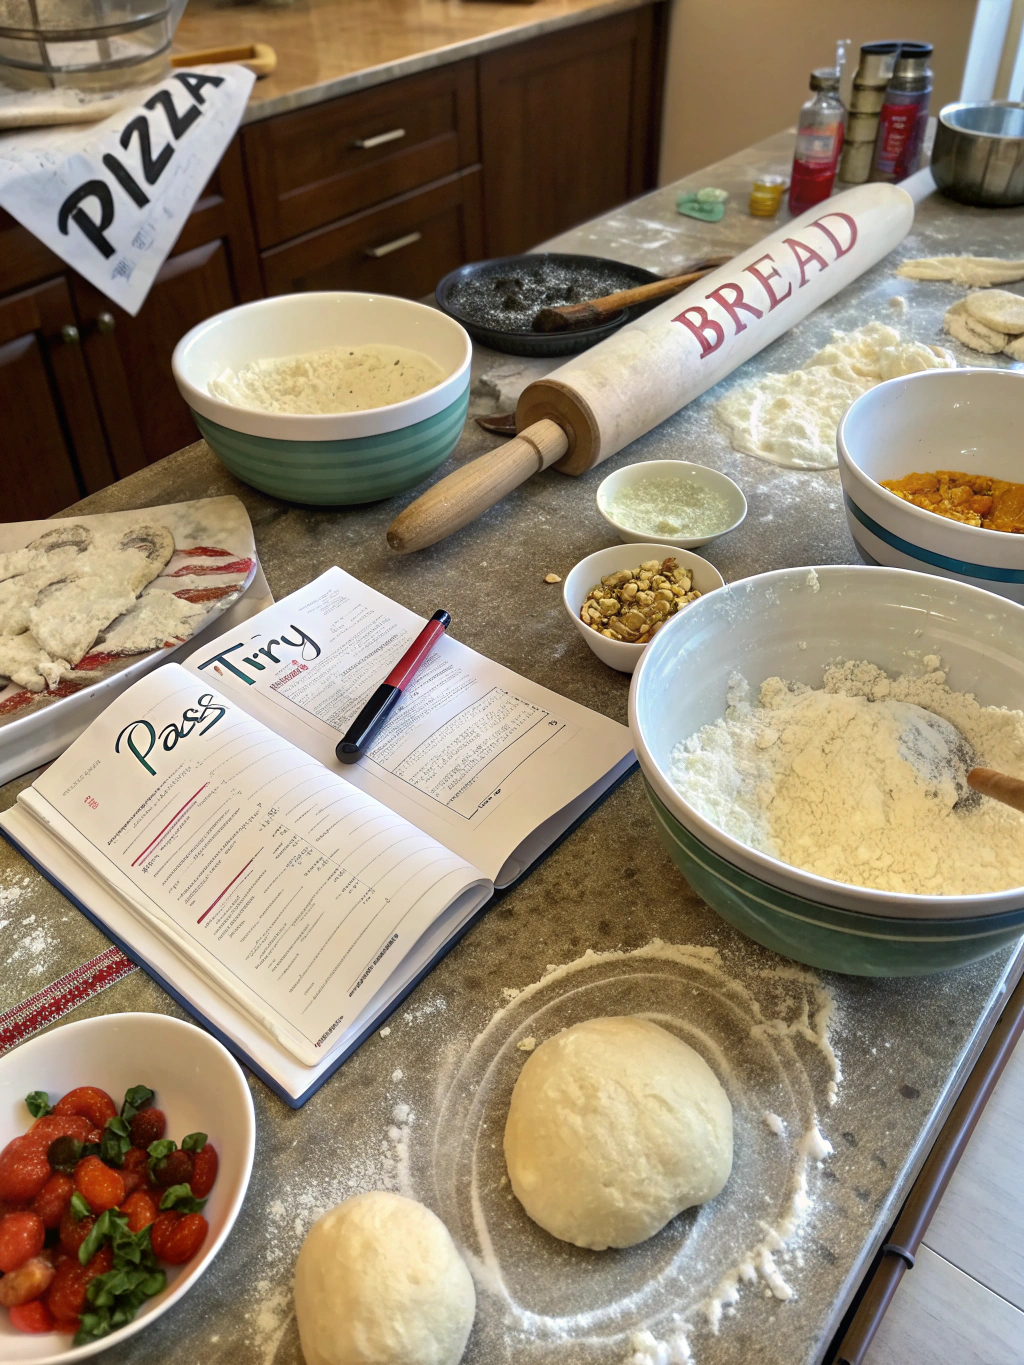
Our Top 7 Easy-to-Make dough recipe ideas for Every Meal!
Let’s explore some fantastic, easy-to-master doughs that will become staples in your kitchen.
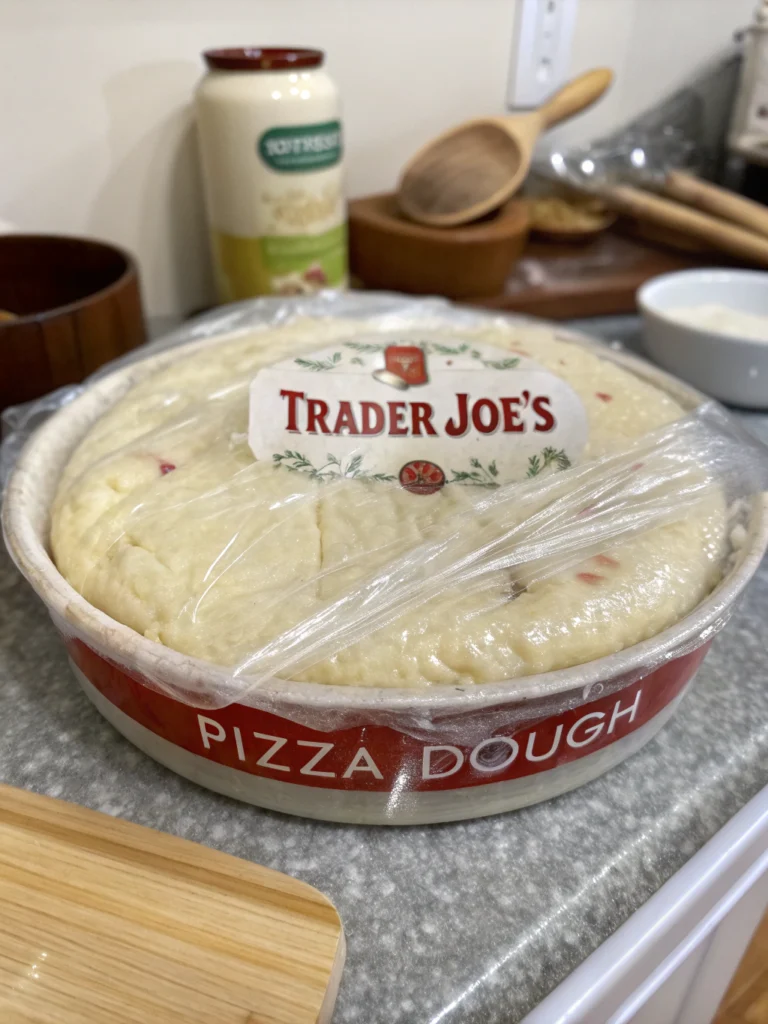
1. The 30-Minute Miracle Pizza Dough
Perfect for spontaneous pizza nights, this dough comes together in a flash and delivers a deliciously chewy crust. No long proofing times required!
- Key Ingredients & Simple Steps (H4):
- Ingredients: All-purpose flour, instant yeast, sugar, salt, warm water, olive oil.
- Steps: Combine dry ingredients, add wet ingredients, mix until a shaggy dough forms. Knead for 5-7 minutes on a lightly floured surface until smooth. Rest for 10-15 minutes while you prep toppings. Roll out, top, and bake at high heat (450-500°F / 230-260°C) for 10-12 minutes.
- Quick Serving Suggestion (H4): Classic Margherita, or white pizza with spinach and ricotta.
- Smart Tip (H4): For an extra crispy crust, preheat your pizza stone or baking steel for at least 30 minutes.
2. Versatile Basic White Bread Dough
This is your workhorse dough – ideal for sandwich loaves, dinner rolls, or even sweet cinnamon swirls.
- Key Ingredients & Simple Steps (H4):
- Ingredients: Bread flour (or all-purpose), active dry yeast, sugar, salt, warm water/milk, melted butter/oil.
- Steps: Bloom yeast. Combine with flour, salt, sugar, and fat. Knead for 10-12 minutes until smooth and elastic. First rise until doubled (1-1.5 hours). Punch down, shape, second rise (30-45 minutes). Bake at 375°F (190°C) for 30-35 minutes for a loaf.
- Quick Serving Suggestion (H4): Freshly baked slices with butter, or use for French toast.
- Smart Tip (H4): A pan of hot water on the bottom rack of your oven creates steam for a crispier crust.
3. No-Knead Artisan Loaf Dough
Minimal effort, maximum reward! This dough develops flavour through a long, slow fermentation.
- Key Ingredients & Simple Steps (H4):
- Ingredients: All-purpose or bread flour, instant yeast, salt, water.
- Steps: Mix ingredients until just combined (no kneading!). Cover and let rise at room temperature for 12-18 hours. Gently shape into a round on a floured surface. Proof for 1-2 hours. Bake in a preheated Dutch oven at 450°F (230°C) – 30 mins covered, 15-20 mins uncovered.
- Quick Serving Suggestion (H4): Perfect with soups, stews, or simply with good quality olive oil.
- Smart Tip (H4): Handle the dough very gently after its long rise to preserve the air bubbles for an open crumb.
4. Sweet Enriched Dough (for Buns & Rolls)
Rich with eggs, butter, and sugar, this dough is the base for decadent treats like cinnamon rolls or sticky buns.
- Key Ingredients & Simple Steps (H4):
- Ingredients: All-purpose flour, yeast, sugar, salt, warm milk, eggs, softened butter.
- Steps: Combine dry ingredients. Whisk wet ingredients (except butter initially). Mix, then knead in softened butter gradually. Knead until smooth and elastic (10-15 mins). First rise until doubled (1.5-2 hours). Shape as desired (e.g., cinnamon rolls), second rise (45-60 mins). Bake according to specific recipe (e.g., 350°F/175°C for 20-25 mins for rolls).
- Quick Serving Suggestion (H4): Morning cinnamon rolls with cream cheese frosting, or pull-apart dinner rolls brushed with honey butter.
- Smart Tip (H4): Enriched doughs rise slower due to fat and sugar content. Be patient!
5. Simple Fresh Pasta Dough
Experience the unparalleled taste of homemade pasta with this incredibly easy recipe.
- Key Ingredients & Simple Steps (H4):
- Ingredients: “00” flour (or all-purpose), eggs, a pinch of salt, olive oil (optional).
- Steps: Make a well in the flour, crack eggs into the center, add salt and oil. Gradually incorporate flour with a fork, then knead for 8-10 minutes until smooth and firm. Wrap in plastic and rest for at least 30 minutes. Roll out thinly (by hand or machine) and cut into desired shapes. Cook in well-salted boiling water for 2-5 minutes.
- Quick Serving Suggestion (H4): Toss with a simple pesto, a light tomato sauce, or brown butter and sage.
- Smart Tip (H4): Don’t skip the resting period – it allows the gluten to relax, making the dough easier to roll.
6. Flaky All-Butter Pie Crust Dough
Master this, and you’ll be the star of every holiday and potluck. The secret is cold butter and minimal handling.
- Key Ingredients & Simple Steps (H4):
- Ingredients: All-purpose flour, salt, very cold unsalted butter (cubed), ice water.
- Steps: Whisk flour and salt. Cut in cold butter using a pastry blender or your fingertips until mixture resembles coarse meal with pea-sized butter pieces. Gradually add ice water, mixing lightly until dough just comes together. Divide in half, flatten into discs, wrap in plastic, and chill for at least 1 hour before rolling.
- Quick Serving Suggestion (H4): Perfect for apple pie, quiche, or savory pot pies.
- Smart Tip (H4): Keep everything COLD. If the butter melts, your crust won’t be flaky. Work quickly.
7. Quick Flatbread/Wrap Dough
Versatile and speedy, these flatbreads are perfect for wraps, gyros, or as a side for curries and dips.
- Key Ingredients & Simple Steps (H4):
- Ingredients: All-purpose flour, baking powder, salt, plain yogurt (or water), olive oil.
- Steps: Whisk dry ingredients. Add yogurt/water and oil, mix to form a soft dough. Knead briefly (2-3 minutes) on a floured surface. Divide into balls. Roll each ball thinly. Cook on a hot, dry skillet or griddle for 1-2 minutes per side, until puffed and lightly golden.
- Quick Serving Suggestion (H4): Use for chicken shawarma wraps, serve with hummus, or as a dipper for Indian curries.
- Smart Tip (H4): Don’t overcook, or they’ll become brittle. They should be soft and pliable.
General Nutritional Insights for Homemade Doughs
Homemade doughs generally offer better nutritional transparency than store-bought alternatives. You control the ingredients!
- Calorie Content: Varies widely based on enrichment (fats, sugars) and portion size. A slice of basic white bread (approx. 30g) can be around 70-90 calories, while a rich sweet roll could be 250-350+ calories.
- Fiber: Using whole wheat flour can significantly increase fiber content. A 100% whole wheat bread can provide 3-5g of fiber per slice, aiding digestion and promoting satiety.
- Sodium: You control the salt! Commercial baked goods are often high in sodium. Reducing salt slightly in homemade versions is often undetectable in taste but beneficial for health.
- Added Sugars: Again, you’re in charge. Many commercial bread products contain hidden sugars.
Crafting Healthier Doughs: Smart Swaps & Techniques
Enjoying your favorite bakes doesn’t have to mean compromising on health. Here are some easy swaps:
- Flour Power: Replace up to 50% of all-purpose flour with whole wheat flour for added fiber and nutrients. Start with 25% if you’re new to whole grains.
- Sweetener Savvy: Reduce sugar by up to 25-30% in many recipes without a huge impact on texture, especially in bread. Use natural sweeteners like honey or maple syrup in moderation, or incorporate fruit purees like applesauce or mashed banana for moisture and sweetness (best in softer doughs).
- Fat Facts: Substitute some butter or oil with unsweetened applesauce, mashed avocado, or Greek yogurt in certain recipes (like quick breads or muffins made from batter-like doughs). For instance, yogurt can add protein and reduce fat in flatbreads.
- Boost with Seeds & Nuts: Add flaxseeds, chia seeds, sunflower seeds, or chopped nuts for extra fiber, healthy fats, and texture.
- Portion Control: Make smaller rolls, thinner crust pizzas, or mini pies.
Elevate Your Dish: Creative Serving Suggestions for Your Dough Creations
Your beautifully baked dough is just the beginning!
- Bread Bowls: Serve hearty soups or stews in a hollowed-out round loaf of your basic bread or no-knead artisan bread.
- Gourmet Toasts: Slice your artisan loaf, toast, and top with avocado & egg, smoked salmon & cream cheese, or ricotta & honey.
- Stuffed Crust Pizza: Before adding toppings to your pizza dough, place cheese sticks around the edge of the crust and fold the dough over.
- Flavored Butters/Oils: Serve fresh bread with homemade herb butter, garlic confit oil, or a balsamic-olive oil dip.
- Pasta Nests: For fresh pasta, form individual “nests” before drying slightly. They look elegant and cook evenly.
- Miniature Delights: Use pie dough for mini quiches or individual fruit tarts for charming appetizers or desserts.
Dough Dilemmas: Common Mistakes to Avoid for Perfect Results
Even seasoned bakers encounter issues. Here’s how to sidestep common pitfalls:
- Mistake 1: Old or “Dead” Yeast.
- Insight: Yeast is a living organism. If it doesn’t foam when proofed (for active dry) or your dough doesn’t rise, your yeast is likely expired.
- Avoidance: Always check expiry dates. Store yeast properly (cool, dry place, or fridge/freezer for longer storage).
- Mistake 2: Water Temperature Too Hot/Cold.
- Insight: Water above 130-140°F (54-60°C) can kill yeast. Water too cold will significantly slow down its activity.
- Avoidance: Use a thermometer. Aim for 105-115°F (40-46°C) for blooming active dry yeast.
- Mistake 3: Incorrect Flour Measurement.
- Insight: Scooping flour directly from the bag with a measuring cup compacts it, leading to 20-25% more flour than intended, resulting in dry, tough dough.
- Avoidance: Use the “spoon and level” method (fluff flour, spoon into cup, level off with a straight edge) or, even better, weigh your flour using a kitchen scale.
- Mistake 4: Over-Kneading or Under-Kneading.
- Insight: Under-kneading results in poor gluten development and a dense product. Over-kneading (harder with home mixers, more common with powerful commercial ones) can break down gluten.
- Avoidance: Knead until dough is smooth, elastic, and passes the “windowpane test” (a small piece can be stretched thin enough to see light through it without tearing).
- Mistake 5: Rushing the Rise.
- Insight: Proper rising time develops flavour and texture. Cutting it short leads to dense, less flavorful bakes.
- Avoidance: Let dough rise until at least doubled in a warm, draft-free place. The “poke test” is a good indicator: if an indentation made with a finger springs back slowly, it’s ready.
Keep it Fresh: Storing Your Doughs and Baked Goods
Extend the life of your creations with proper storage:
- Unbaked Dough:
- Refrigerator: Most yeast doughs can be stored in an airtight container or well-oiled Ziploc bag in the fridge for 2-3 days (some, like no-knead, even longer). The cold slows fermentation. Allow to come to room temperature and potentially complete its rise before shaping/baking.
- Freezer: Wrap dough tightly in plastic wrap, then place in a freezer bag. It can last for 1-3 months. Thaw overnight in the refrigerator.
- Baked Breads:
- Room Temperature: Crusty artisan loaves are best stored cut-side down on a cutting board or in a paper bag for 1-2 days. Softer breads can be kept in a bread box or a loosely sealed plastic bag for 2-4 days.
- Freezer: For longer storage (up to 3 months), wrap well in plastic wrap and then foil or a freezer bag. Thaw at room temperature or reheat in the oven.
- Baked Pizza/Flatbreads: Store leftovers in an airtight container in the fridge for 2-3 days. Reheat in an oven or skillet for best results.
- Fresh Pasta: Can be dried completely and stored at room temperature in an airtight container for weeks, or frozen fresh for up to a month. Cook frozen pasta directly from the freezer (add a minute or two to cooking time).
- Pie Crust (Baked or Unbaked): Unbaked discs can be refrigerated for 2-3 days or frozen for 3 months. Baked pie shells or pies can be covered and refrigerated.
Conclusion
You now have a fantastic arsenal of seven easy-to-make dough recipe ideas that can genuinely transform your meals from mundane to magnificent. From quick weeknight pizzas to impressive artisan loaves and delicate fresh pasta, the power to create delicious, wholesome food is literally in your hands. We’ve explored the essential ingredients, demystified timings, and shared tips to ensure your baking adventures are successful and enjoyable.
Don’t just read about it—get your hands doughy! We wholeheartedly encourage you to pick one (or more!) of these recipes and give it a try this week. Which dough will you tackle first? Share your creations, experiences, and any questions in the comments below. We love hearing from our community of budding bakers! For more inspiration, check out our other posts on advanced baking techniques and seasonal recipes. Happy baking!
FAQs
- Q1: My dough isn’t rising. What did I do wrong?
- A: There are a few common culprits! First, check your yeast’s expiration date; old yeast won’t be active. Second, ensure your water wasn’t too hot (which kills yeast) or too cold (which slows it significantly). Lastly, make sure your rising environment isn’t too cold. A slightly warm, draft-free spot is ideal.
- Q2: Can I substitute whole wheat flour for all-purpose flour in these recipes?
- A: Yes, absolutely! For best results, start by substituting 25-50% of the all-purpose flour with whole wheat. Whole wheat flour absorbs more liquid, so you might need to add a little extra water or milk (1-2 tablespoons per cup of whole wheat flour) to achieve the right consistency. It may also result in a denser, heartier product.
- Q3: How do I know when my bread dough is kneaded enough?
- A: Properly kneaded dough will be smooth, elastic, and slightly tacky but not sticky. A great test is the “windowpane test”: take a small piece of dough and gently stretch it between your fingers. If you can stretch it thin enough to see light through it without tearing, the gluten is well-developed, and it’s ready.
- Q4: What’s the best way to store leftover pizza dough?
- A: Lightly oil the surface of the dough, place it in an airtight container or a resealable plastic bag (with some room for it to expand slightly), and refrigerate for up to 3 days. For longer storage, you can freeze it for up to 3 months. Thaw in the refrigerator overnight before using.
- Q5: Can I make these doughs without a stand mixer?
- A: Definitely! All these doughs can be made by hand. Kneading by hand is a fantastic way to get a feel for the dough and can be quite therapeutic. It might take a few extra minutes of kneading compared to a stand mixer, but the results will be just as delicious.