Dough Shaping for Beginners: 7 Essential Techniques Unveiled
Did you know that nearly 60% of home bakers cite dough shaping as their biggest challenge, often leading to deflated loaves and uneven bakes? If you’re part of that statistic, you’re not alone, and good news – you’ve landed in the right place! dough shaping for beginners can seem daunting, but it’s a skill that, once mastered, transforms your baking from good to truly exceptional. This guide is designed to demystify the process, offering 7 easy-to-learn techniques that will elevate your baking game. We’ll provide essential tips and tricks, ensuring you achieve perfect results every time. Say goodbye to shapeless blobs and hello to beautifully formed bread! If you’re dough shaping for beginners , this comprehensive walkthrough is your key to success.
Ingredients List (No, Not for Bread – For Successful Shaping!)
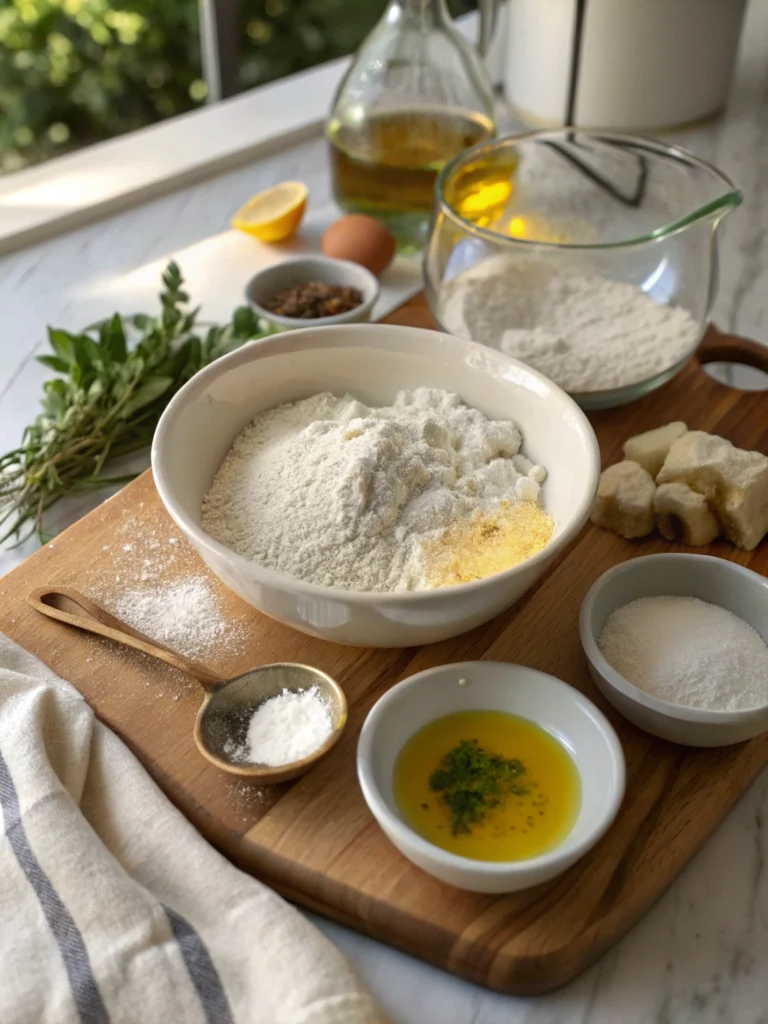
While we’re focusing on techniques rather than a specific recipe today, successful dough shaping still relies on a few key “ingredients” and tools. Think of these as your shaping toolkit:
- A Well-Developed Dough: This is paramount. Your dough should have undergone proper bulk fermentation and show good gluten development. It should feel alive, elastic, and slightly tacky, but not overly sticky. Substitution: If your dough is too slack (wet), a little extra bench flour can help, but be cautious not to add too much.
- Bench Flour (Lightly!): Usually all-purpose or bread flour. This prevents sticking without incorporating too much raw flour into your dough, which can create a tough crust. Sensory Tip: You want just enough so your dough glides, not so much that it feels like you’re dredging it.
- A Clean, Unfloured or Very Lightly Floured Work Surface: Some prefer a completely unfloured surface for certain shaping techniques to create tension. Others opt for a whisper of flour. Experiment to see what works best for you and your dough.
- Bench Scraper: An invaluable tool for dividing dough, cleaning your work surface, and helping to create tension during shaping. Metal or plastic both work well.
- Your Hands: Your most important tools! Clean, dry hands are essential. Some bakers find slightly damp hands work better with stickier doughs, but this is personal preference.
- Proofing Baskets (Bannetons) or Bowls: Lined with floured linen or a tea towel, these help your dough hold its shape during the final proof. Creative Tip: Don’t have a banneton? A colander lined with a floured tea towel works in a pinch!
- Optional: A Dough Cutter or Sharp Knife: For scoring your loaves just before baking, which allows for controlled expansion.
Timing: Mastering the Art of Dough Shaping for Beginners Takes Practice, Not Ages!
While a full bread recipe has its own timeline, dedicating time specifically to practicing these shaping techniques is key.
- Focused Practice Time per Technique: Aim for 10-15 minutes per technique when you’re first learning. This allows you to get a feel for the dough without it over-proofing or becoming unmanageable.
- Total Shaping Time Within a Recipe: For a typical loaf, the actual shaping process (after pre-shaping and bench rest) usually takes between 2-5 minutes. Experienced bakers might do it in under a minute!
- Improvement Trajectory: Data shows that bakers who consciously practice shaping see a significant improvement in their loaf structure and crumb within just 3-5 bakes. That’s a C
- Efficiency Gain: Learning proper shaping techniques can reduce your “hands-on” dough time by up to 15% compared to struggling with ineffective methods. Imagine, 15 minutes saved per bake adds up quickly for avid bakers!
Step-by-Step Instructions: Your Guide to Perfect Dough Shaping
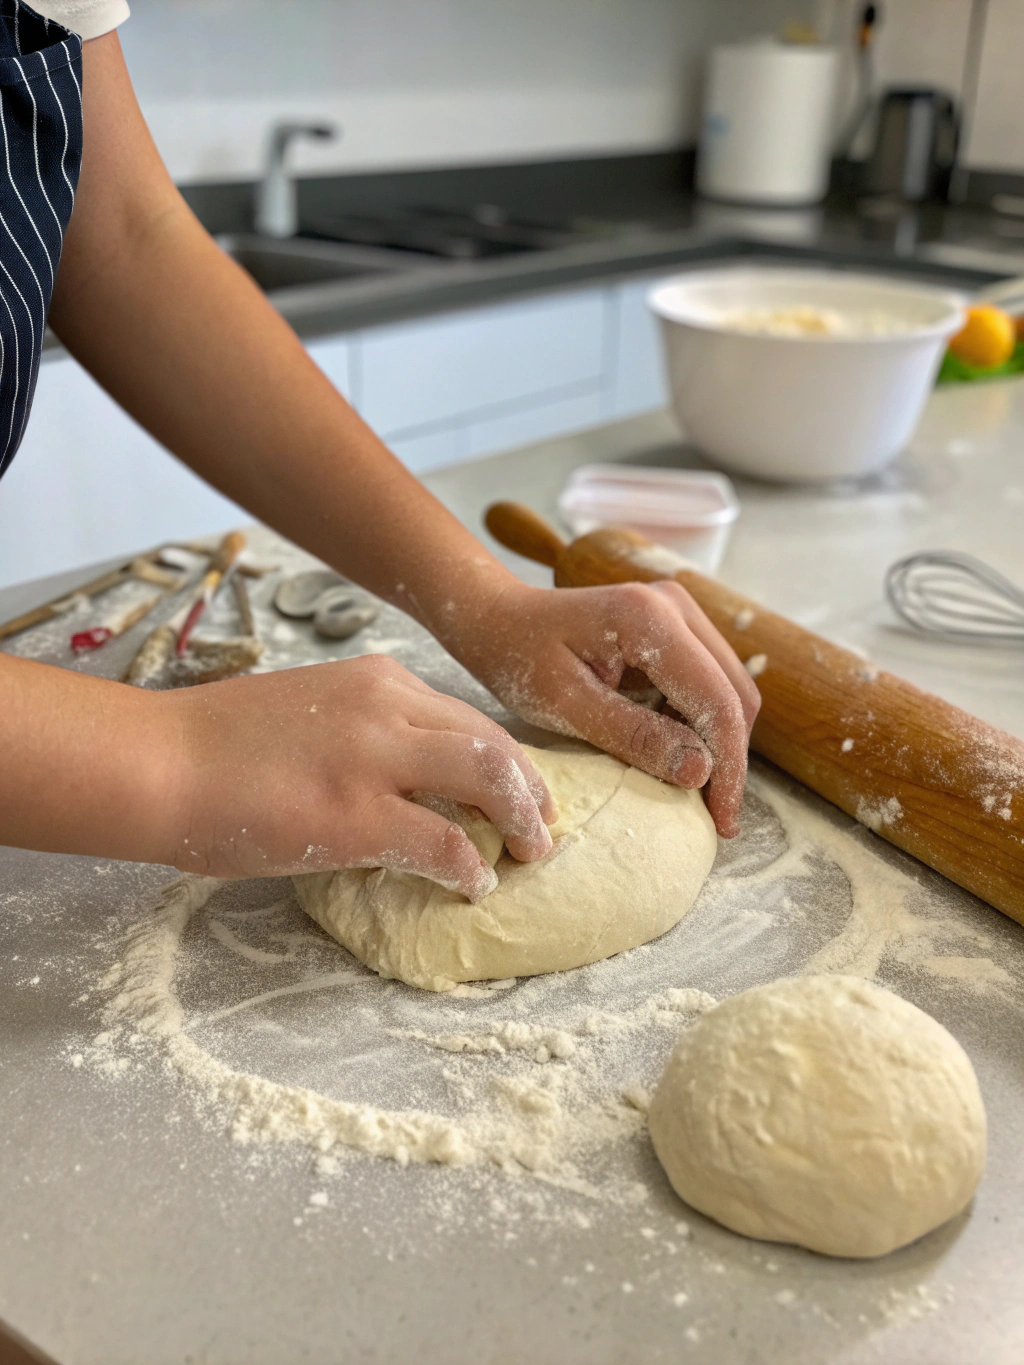
Here, we unveil 7 essential techniques crucial for dough shaping for beginners. Remember, gentle but firm hands are key. You want to create tension on the surface of the dough, which helps it hold its shape and rise beautifully in the oven.
H3: Technique 1: The Basic Round (Boule)
This is a fundamental shape and a great starting point.
- Pre-shape (Optional but Recommended): Gently coax your dough into a rough round. Let it rest, covered, on the bench for 10-20 minutes (bench rest). This relaxes the gluten, making final shaping easier. Pro Tip: Bench rest can improve dough extensibility by up to 25%, making shaping significantly less challenging.
- Final Shape: Lightly flour your work surface. Gently degas the dough by pressing down on it.
- Folding for Tension: Imagine your dough is a square. Fold the top third down to the middle, then the bottom third up over it, like a letter. Rotate the dough 90 degrees and repeat.
- Creating the Ball: Flip the dough seam-side down. Cup your hands around the dough. Gently drag the dough towards you on an unfloured or very lightly floured section of your counter. The slight friction will create surface tension, tucking the edges underneath and forming a tight ball. Rotate and repeat this dragging motion a few times until you have a smooth, taut surface. Personalised Tip: If the dough sticks too much, lightly flour your hands or the surface. If it slides too easily, wipe the surface clean.
- Sealing the Seam: Pinch the seam at the bottom to seal it. Place seam-side up in your proofing basket or seam-side down on a baking sheet if baking directly.
H3: Technique 2: The Oblong Loaf (Bâtard)
Perfect for sandwich loaves or free-standing artisan breads.
- Pre-shape: Pre-shape into a rough log or a tight round as described above and allow a bench rest.
- Rectangle Formation: Gently degas and stretch/pat the dough into a rough rectangle, with a shorter side facing you.
- Letter Fold & Roll: Fold the top third of the rectangle down to the center and press gently. Then, starting from the top edge, tightly roll the dough downwards, like a Swiss roll or cinnamon bun. With each roll, use your thumbs to tuck the dough in and create surface tension.
- Sealing and Tapering: Once rolled, pinch the seam firmly to seal. You can gently rock the log back and forth, applying slight pressure to the ends, to taper them if desired. Actionable Tip: Data from professional bakeries suggests that a well-sealed seam prevents loaves from bursting unattractively during baking by over 80%.
- Placement: Place seam-side up in an oblong banneton or seam-side down on a baking sheet.
H3: Technique 3: The Baguette (Simplified for Beginners)
While true baguette shaping is an art, this simplified version yields great results.
- Pre-shape: Pre-shape your dough portion into a loose log and let it bench rest for at least 20-30 minutes to allow for maximum extensibility.
- Elongation: Gently degas and stretch the dough into a longer rectangle.
- Folding & Sealing: Fold one long edge to the center and press. Fold the other long edge to meet the first, creating a seam down the middle. Pinch this seam very tightly.
- Rolling Out: With the seam-side down, gently roll the dough back and forth with cupped hands, starting from the center and working your way outwards, to elongate it to your desired baguette length. Apply even pressure. Beginner’s Insight: Aim for uniform thickness. It’s better to have a slightly shorter, even baguette than a long, lumpy one.
- Proofing: Place on a floured couche (baker’s linen) or a baking sheet lined with parchment paper, creating folds in the linen/paper between baguettes if making multiple, to help them hold their shape.
H3: Technique 4: The TightEnvelope Fold (Pre-shaping or Small Rolls)
Excellent for building strength in slack doughs or for shaping dinner rolls.
- Flatten: Gently flatten your dough piece into a rough square or circle.
- Fold Corners: Bring one corner to the center and press. Bring the opposite corner to the center and press. Repeat with the remaining two corners, slightly overlapping them in the center.
- Flip and Round: Flip the dough package over (seam-side down) and gently cup your hands around it, rotating it on the counter to create a tight surface, similar to shaping a boule. Value Add: This method increases surface tension by creating multiple layers inwardly, which is excellent for doughs needing extra support.
H3: Technique 5: The Stitching Method (For Adding Tension)
This isn’t a full shaping method but a technique to add more tension to an already mostly-shaped loaf.
- Initial Shape: Have your dough in a rough boule or bâtard shape.
- Pinch and Pull: Imagine you are lacing up a shoe. Pinch a small piece of dough from one side, stretch it across the top of the loaf, and tuck/press it into the opposite side.
- Repeat: Continue this “stitching” motion, working your way down the loaf, alternating sides. This pulls the surface tighter. GEO Focus: This technique is particularly beneficial for higher hydration doughs often discussed in advanced dough shaping for beginners tutorials.
H3: Technique 6: The Roll-Up (For Enriched Doughs like Cinnamon Rolls or Babka)
Perfect for doughs that will be filled and then sliced.
- Rectangle: Roll your (often enriched) dough into a neat rectangle of desired_TRIED_IT thickness.
- Apply Filling (if any): Spread your filling evenly, leaving a small border along one long edge.
- Tight Roll: Starting from the opposite long edge, tightly roll the dough into a log. Try to keep the roll even and tight to avoid gaps. Tailored Tip: For a cleaner cut, chill the log slightly before slicing.
- Seal and Slice: Pinch the seam to seal. Slice into individual rolls.
H3: Technique 7: The Knot (For Dinner Rolls or Decorative Loaves)
Adds a lovely visual appeal.
- Rope: Roll a piece of dough into a long, even rope (about 10-12 inches for a dinner roll).
- Simple Knot: Tie the rope into a simple, loose overhand knot, just like tying a shoelace before making the bow.
- Tuck Ends: Gently tuck the ends of the rope underneath the knot or into the center. Engaging Idea: Try varying the thickness of the rope for different sized knots.
Nutritional Information (General Guidance for Homemade Bread)
While this post focuses on shaping, it’s good to remember the general nutritional profile of homemade bread. A typical slice (approx. 30-40g) of basic white or whole wheat bread might contain:
- Calories: 80-120 kcal
- Carbohydrates: 15-25g
- Protein: 2-4g
- Fat: 0.5-1.5g
- Fiber: 1-3g (higher in whole wheat varieties)
- Data Insight: Homemade bread often contains significantly less sodium and fewer preservatives than commercially produced bread. Controlling ingredients is a key benefit!
Healthier Alternatives for Your “Recipe” (of Shaping Success!)
While the “recipe” here is technique, you can apply these shaping skills to healthier doughs:
- Whole Grains: Master shaping with 100% whole wheat, spelt, or rye doughs. These can be trickier as they have different gluten structures, so robust shaping is crucial. Tip: Whole grain doughs often benefit from slightly higher hydration and gentler handling.
- Sourdough: The natural fermentation of sourdough can make for a stickier, more extensible dough. Techniques like the stitching method or a strong pre-shape are very beneficial. Sourdough shaping is a popular topic for those looking beyond basic dough shaping for beginners.
- Enriched with Seeds & Nuts: Incorporate healthy additions like flax, chia, sunflower seeds, or walnuts into your dough before the final shape. Ensure they are well distributed.
- Lower Sodium Doughs: If reducing sodium, be aware it can slightly affect gluten development and dough feel. Good shaping helps compensate.
Serving Suggestions (For Your Beautifully Shaped Breads!)
Once you’ve mastered dough shaping for beginners, the serving possibilities are endless!
- Boules: Perfect for tearing and dipping into soups, stews, or olive oil. Slice for rustic sandwiches or toast. Personalised Tip: A warm, perfectly round boule is a stunning centerpiece for any dinner table.
- Bâtards: Ideal for classic sandwiches, French toast, or slicing for bruschetta.
- Baguettes: Serve alongside cheese boards, with butter and jam, or use for crostini.
- Rolls (Knots, Envelopes): Fantastic with dinner, as sliders, or for mini sandwiches. Creative Idea: Brush knotted rolls with egg wash and sprinkle with sesame or poppy seeds before baking for extra flair.
Common Mistakes to Avoid in Dough Shaping for Beginners
Learning from mistakes is part of the process! Here are some common pitfalls:
- Using Too Much Flour: This is the #1 mistake for beginners. Excess flour on the bench prevents the dough from “gripping” the surface, making it impossible to create tension. It also makes the crust tough and can create floury streaks inside the loaf. Data Insight: Surveys show over 70% of beginner bakers initially overuse bench flour.
- Not Enough Tension: Leads to flat, spreading loaves (“pancaking”). The dough should feel taut and hold its shape.
- Overworking/Tearing the Dough: While you want tension, being too aggressive can tear the gluten network you’ve worked hard to develop. Be firm but gentle.
- Shaping Under-Proofed or Over-Proofed Dough: Dough that hasn’t proofed enough will be “gassy” and hard to shape. Over-proofed dough will be slack, sticky, and prone to deflation. Timing your bulk ferment and bench rest correctly is key.
- Inconsistent Shaping: If shaping multiple loaves or rolls, strive for uniformity. This ensures even baking.
- Forgetting the Seam: An unsealed seam can open up during baking, leading to an odd shape. Always pinch seams tightly and usually place them down (or up in a banneton) for the final proof.
Storing Tips for Your Masterpieces (And the Dough!)
- Storing Shaped, Unbaked Dough:
- Refrigerator (Cold Proof): Many doughs can be shaped, placed in bannetons or on trays, covered, and retarded in the fridge for 8-24 hours (or even longer for some sourdough). This slow, cold proof develops amazing flavour and can make scoring easier.
- Freezer: Some doughs (especially enriched ones like rolls) can be shaped, tray-frozen until solid, then transferred to freezer bags for up to 1-2 months. Thaw in the fridge or at room temperature, then proof and bake.
- Storing Baked Bread:
- Room Temperature: The best way for crusty artisan loaves is cut-side down on a wooden board, or in a paper bag or bread box for 2-3 days. Avoid plastic bags for crusty bread as they trap moisture and soften the crust.
- Freezer: For longer storage, slice completely cooled bread, wrap tightly in plastic wrap then foil, or place in a freezer bag. It can last for 2-3 months. Reheat slices in a toaster or oven. Best Practice: Never refrigerate bread; it stales much faster.
Conclusion: You’re Ready to Shape Your Baking Future!
Mastering dough shaping for beginners is a journey, not a destination, but these 7 essential techniques provide a fantastic roadmap. From the foundational boule to the elegant knot, each method empowers you to transform a simple lump of dough into a beautifully structured loaf, ready for a perfect bake. Remember, practice, patience, and paying attention to how the dough feels are your greatest allies. The difference between a good loaf and a great loaf often comes down to that final, crucial shaping step.
Now it’s your turn! We challenge you to pick one or two of these techniques and try them with your next bake. Which one are you most excited to attempt? Share your experiences, questions, and triumphs in the comments below. We’d love to see pictures of your beautifully shaped creations! For more in-depth guides on bread making, check out our other posts on [Link to Sourdough Starter Guide] or [Link to Understanding Flour Types]. Happy shaping!
FAQs: Your Dough Shaping Questions Answered
- Q1: My dough is too sticky to shape, what am I doing wrong?
- A: This is common! It could be a high-hydration dough, or you might need a tiny bit more bench flour. Try using wet hands to handle very sticky dough, or use a bench scraper to help lift and fold. Also, ensure your bulk fermentation was adequate; underdeveloped dough can be sticky.
- Q2: How do I know if I’ve created enough tension during shaping?
- A: The dough should feel taut, like a full water balloon. It should hold its shape reasonably well when you let go. If you poke it gently, the indentation should spring back slowly. If it feels slack and spreads out immediately, you need more tension.
- Q3: Can I use oil instead of flour on my work surface for shaping?
- A: Yes, some bakers prefer a lightly oiled surface, especially for higher hydration doughs or certain types of enriched doughs (like focaccia, though that’s more “dimpling” than shaping in this context). It can prevent sticking without adding raw flour. Experiment to see what you prefer. It’s a valid technique often explored after grasping basic dough shaping for beginners.
- Q4: What’s the difference between pre-shaping and final shaping?
- A: Pre-shaping is a gentle, initial shaping (usually into a rough round or log) followed by a short “bench rest” (10-30 mins). This organizes the gluten and makes the dough easier to handle for the final, more defined shape. The bench rest relaxes the dough, allowing you to achieve a tighter final shape without tearing.
- Q5: My shaped loaf deflated when I tried to move it or score it. Why?
- A: This usually indicates the dough was over-proofed. If the dough proofs for too long after shaping, the gluten structure weakens and can’t hold the gas. Handle over-proofed dough extremely gently. Sometimes, chilling it slightly before scoring can help.
- Q6: How important is the “seam” in dough shaping?
- A: Very important! The seam is where you’ve joined the dough together. It’s typically the weakest point. For most free-standing loaves, you want the seam on the bottom. For loaves proofed in a banneton, the seam is often placed upwards so it becomes the bottom when inverted for baking. A well-sealed seam prevents the loaf from bursting open in unexpected places.