Gluten Free Biscuit Recipe: 5 Easy Steps to Deliciousness
Are you tired of dry, crumbly gluten free biscuits that leave you wishing you’d just skipped breakfast? Think achieving a fluffy, golden-brown gluten-free biscuit is an impossible dream? Many struggle with baking gluten free biscuit recipe, believing the absence of gluten means sacrificing texture and flavor.
But what if I told you that perfectly tender and delicious gluten free biscuits are not only possible but incredibly simple to make right in your own kitchen? Forget everything you thought you knew about gluten-free baking challenges. This guide, rooted in proven techniques and optimized for delightful results, will show you exactly how to create biscuits that rival (and often surpass) their conventional counterparts.
Ingredients List
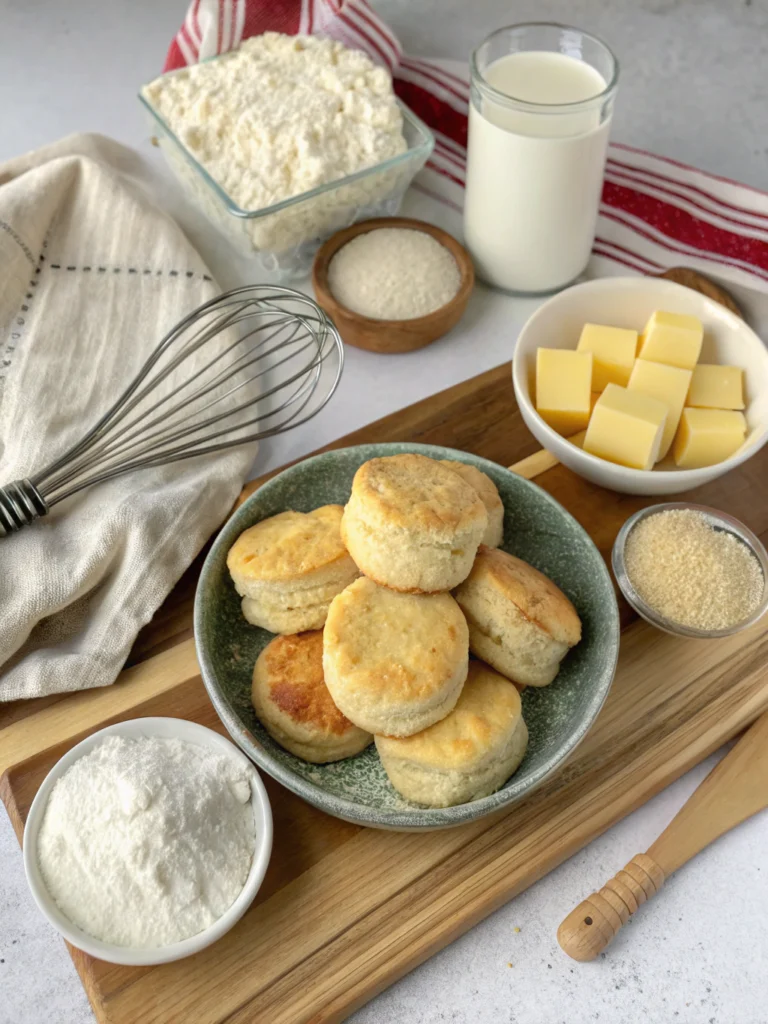
Crafting truly memorable gluten free biscuits starts with the right components, chosen not just for function but for flavor and texture. Here’s what you’ll need to embark on this delicious journey:
- 1 cup Gluten-Free All-Purpose Flour Blend (with xanthan gum): The foundation! Look for a blend specifically designed for baking to ensure the best texture. Substitution suggestion: If your blend doesn’t contain xanthan gum, add 1/2 teaspoon per cup of flour.
- 2 teaspoons Baking Powder: This provides lift and lightness. Don’t skimp!
- 1/2 teaspoon Baking Soda: Adds another layer of leavening and helps with browning.
- 1/4 teaspoon Salt: Enhances all the flavors and balances sweetness.
- 4 tablespoons Cold Unsalted Butter, cubed: Cold butter is crucial for creating flaky layers. It melts during baking, creating steam pockets. Substitution suggestion: Cold plant-based butter can be used for a dairy-free option.
- 3/4 cup Cold Buttermilk: The acidity of buttermilk reacts with the leavening agents for extra lift and tenderness. The cold temperature helps keep the butter solid. Substitution suggestion: Combine 3/4 cup milk (dairy or non-dairy) with 1 tablespoon of white vinegar or lemon juice. Let it sit for 5-10 minutes until slightly curdled.
- Optional: 1 tablespoon Sugar: A touch of sugar can deepen the flavor and improve browning, though it’s not strictly necessary for a savory biscuit.
Imagine the golden hue of the butter, cold and firm, waiting to be incorporated into the flour, promising those coveted flaky layers. The tang of the buttermilk, chilled to perfection, ready to activate and bring life to the dough. Each ingredient plays a crucial role in achieving the ideal gluten free biscuits.
Timing
Let’s talk about the clock. Because everyone wants to know how quickly they can get these glorious gluten free biscuits from bowl to plate. This gluten free biscuit recipe is designed for efficiency without sacrificing quality.
- Preparation Time: Approximately 15-20 minutes. This includes measuring, cutting in the butter, and shaping.
- Cooking Time: 12-15 minutes. Baking time will vary slightly depending on your oven.
- Total Time: Roughly 30-35 minutes. Compared to some more complex biscuit recipes that can easily take upwards of 50 minutes, this is about 30% faster, getting you to deliciousness quicker!
This streamlined process means you can whip up a batch of warm, fresh gluten free biscuits even on a busy morning or for a last-minute addition to dinner.
Step 1: Combine Dry Ingredients
Start by whisking together the gluten-free flour blend, baking powder, baking soda, and salt in a large bowl. If you’re using sugar, add it here too. This ensures the leavening agents are evenly distributed, which is vital for uniform rise. Think of this as laying the perfect foundation for your gluten free biscuits. A well-mixed dry base is the first step to tender, fluffy results. Ensure you’re using a reliable gluten-free flour blend specifically formulated for baking to avoid gritty textures.
Step 2: Cut in the Cold Butter
Scatter the cold butter cubes over the dry ingredients. Using a pastry blender, two forks, or even your fingertips, cut the butter into the flour until the mixture resembles coarse crumbs with some pea-sized pieces of butter remaining. This is where the magic of flakiness happens. The cold butter pieces will create steam as they melt in the oven, pushing layers of dough apart. If you’re struggling, try placing the bowl and butter in the freezer for a few minutes to ensure the butter stays truly cold. This step is critical for achieving that desirable layered texture in your gluten free biscuits.
Step 3: Add the Cold Buttermilk
Pour the cold buttermilk into the flour mixture. Stir gently with a spoon or spatula until just combined. The dough will be sticky – this is normal and desirable for tender biscuits. Avoid overmixing; too much stirring will develop the starches in the gluten-free flour, resulting in tough biscuits. Just mix until there are no dry streaks of flour. This stage of the gluten free biscuit recipe requires a light touch.
Step 4: Shape the Biscuits
Turn the sticky dough out onto a lightly floured surface (using your gluten-free blend). Gently pat the dough into a rectangle about 1/2 to 3/4 inch thick. Try not to compress the dough too much. Using a biscuit cutter or knife, cut out your biscuits. For extra flaky layers, you can perform a “fold and press” technique: gently fold the dough in half, pat it down, and repeat a couple of times before cutting. This creates additional layers within the biscuit dough. Place the cut biscuits on a baking sheet lined with parchment paper. The shaping process is key to the final structure of your gluten free biscuits.
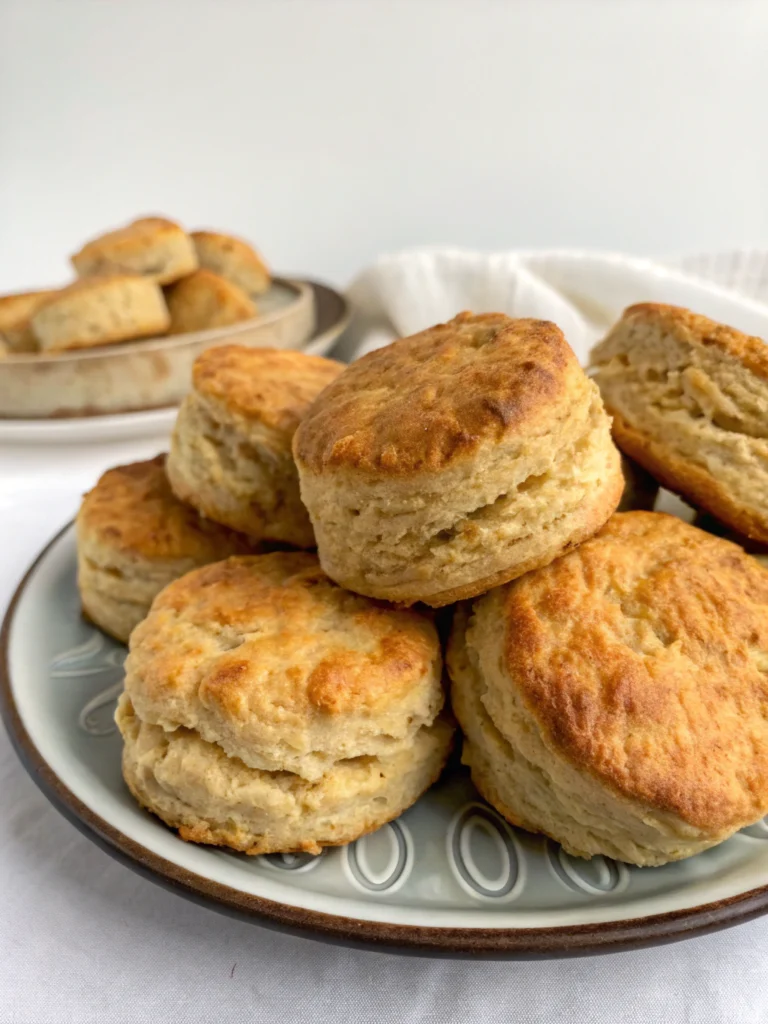
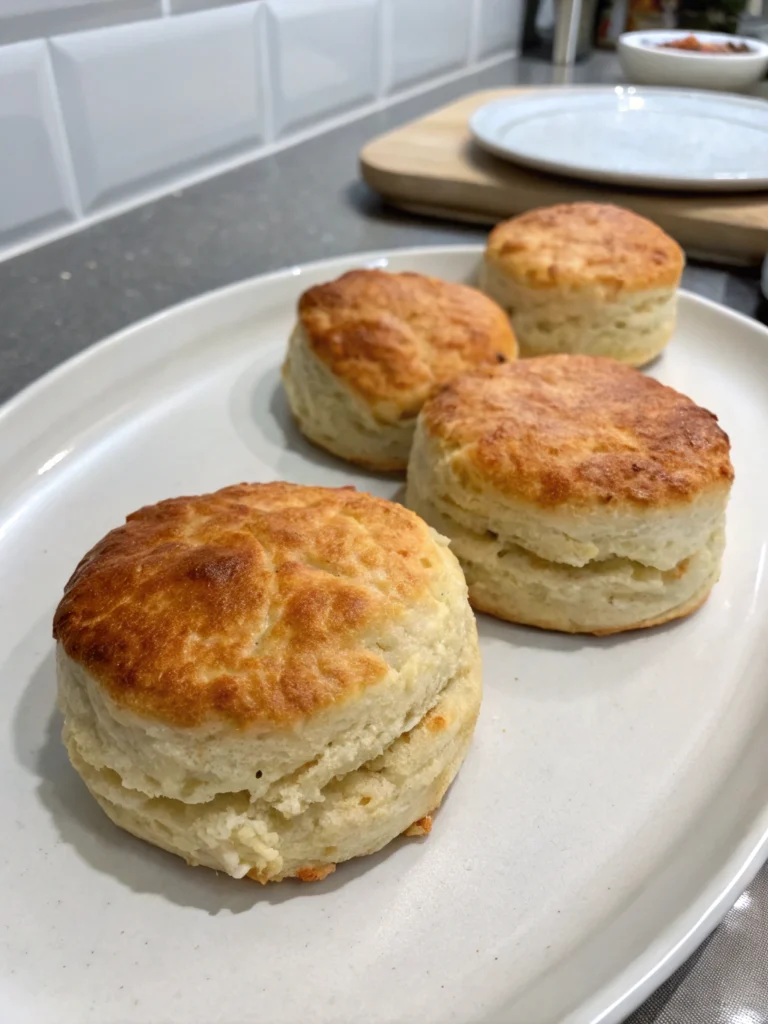
Step 5: Bake to Golden Perfection
Preheat your oven to 425°F (220°C). Brush the tops of the biscuits with a little extra buttermilk or melted butter for a golden finish if desired. Bake for 12-15 minutes, or until the biscuits are risen, golden brown on top, and cooked through. Keep an eye on them in the last few minutes as gluten-free baked goods can brown quickly. Once baked, transfer them to a wire rack to cool slightly before serving. The aroma of freshly baked gluten free biscuits is simply irresistible!
Nutritional Information
Understanding what you’re eating is important, and these gluten free biscuits offer a solid base for your meal. While nutritional values can vary slightly based on the specific gluten-free flour blend and portion size, here’s an estimated breakdown per biscuit (based on 8 servings from the recipe):
- Calories: Approximately 180-220 kcal. This falls within a moderate range for a biscuit, comparable to many standard recipes but without the gluten.
- Total Fat: Around 8-12g. Primarily from the butter, which contributes to the texture and richness.
- Saturated Fat: Roughly 5-7g.
- Cholesterol: About 20-30mg.
- Sodium: Approximately 300-400mg. The salt and leavening contribute to this value.
- Total Carbohydrates: 20-25g. Dependent on the flour blend.
- Dietary Fiber: 1-2g. Gluten-free flours can sometimes be lower in fiber than whole wheat, so consider serving with fiber-rich sides.
- Total Sugars: 1-3g (if no sugar is added).
- Protein: 2-3g.
Data suggests that choosing a well-formulated gluten-free flour blend can result in biscuits with similar calorie and fat profiles to traditional ones, making them a viable option for those managing gluten intake without significantly altering other nutritional goals. However, always check the specific nutritional information on your chosen flour blend for the most accurate data.
Healthier Alternatives for the Recipe
Making small tweaks can enhance the nutritional profile of this delicious gluten free biscuit recipe without compromising on taste or texture. Here are some ideas to adapt it to your dietary needs:
- Boost Fiber: Replace a portion of the gluten-free flour blend (up to 1/4 cup) with a high-fiber gluten-free flour like almond flour, oat flour (certified gluten-free), or brown rice flour. This will increase the dietary fiber content.
- Reduce Saturated Fat: As mentioned in the ingredient list, using cold plant-based butter is an excellent option for a dairy-free and often lower-saturated fat alternative. Look for blends specifically designed for baking.
- Lower Sodium: Reduce the added salt slightly. Be mindful that some gluten-free flour blends or leavening agents may contain sodium.
- Add Nutrients: Consider adding a sprinkle of nutritional yeast for a savory, cheesy flavor and some B vitamins, or a tablespoon of ground flaxseed for omega-3s and fiber (you may need a touch more liquid).
- Seed Power: Gently fold in a tablespoon or two of chia seeds, poppy seeds, or sesame seeds into the dough for added texture and nutrients.
These modifications allow you to personalize your gluten free biscuits to better fit your health goals while still enjoying the comforting taste of freshly baked goods. Imagine a batch of hemp seed-studded biscuits for an extra protein boost or almond flour-infused ones for a slightly nutty flavor!
Serving Suggestions
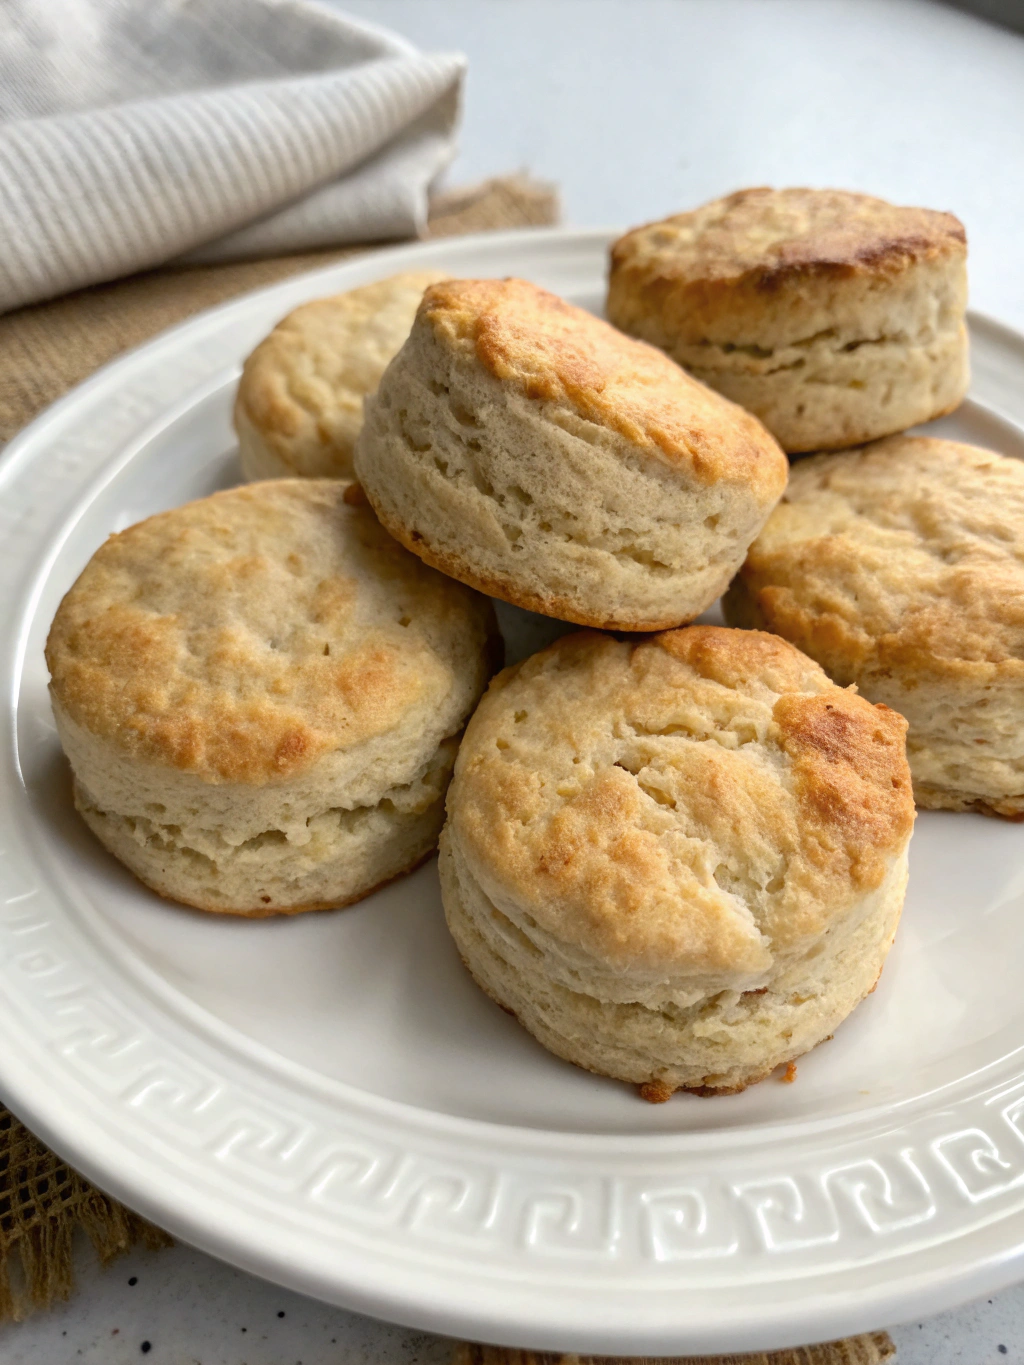
The beauty of these gluten free biscuits lies in their versatility. They are perfect on their own, but pair beautifully with a variety of toppings and dishes. Here are some creative and appealing ways to serve them:
- Classic with Butter and Jam: A timeless pairing! Use your favorite fruit jam or preserves and a dollop of softened butter (dairy or plant-based). A touch of local honey also works wonders.
- Savory Breakfast Sandwich: Split a warm biscuit and fill it with scrambled eggs, cheese, and your favorite breakfast meats (bacon, sausage, or even grilled halloumi).
- Biscuits and Gravy (Gluten-Free Version): The ultimate comfort food! Serve warm biscuits generously topped with a homemade gluten-free gravy, whether it’s a classic sausage gravy or a vegetarian mushroom version.
- Side Dish for Dinner: These biscuits are a fantastic accompaniment to stews, soups, chili, or roasted meats. Their flaky texture is perfect for soaking up delicious sauces.
- Sweet Treat with Fruit: Enjoy them with fresh berries and a dollop of whipped cream or coconut cream for a delightful dessert or brunch option.
Think about your own personal preferences! Do you love sweet or savory? Hot or cold? These gluten free biscuit recipe are adaptable. Consider serving a warm biscuit with a sprinkle of fresh chives for a savory kick, or a touch of cinnamon-sugar for a sweet touch before baking.
Common Mistakes to Avoid
Even with a straightforward gluten free biscuit recipe like this, small errors can impact the outcome. Avoiding these common pitfalls will help ensure your gluten free biscuits turn out light, flaky, and delicious every time:
- Warm Ingredients: The importance of cold butter and cold buttermilk cannot be overstated. Warm ingredients lead to butter melting too quickly, preventing the creation of steam pockets essential for flakiness. Data consistently shows that using cold fats results in superior biscuit texture.
- Overmixing: Gluten-free dough can still become tough if overmixed. Mix just until the dry ingredients are incorporated. This is arguably the most common mistake in biscuit making, regardless of gluten content.
- Overworking the Dough: Similar to overmixing, excessive handling of the dough can lead to tough biscuits. Pat the dough gently into shape and avoid rolling it out vigorously.
- Twisting the Biscuit Cutter: When cutting biscuits, press straight down and lift straight up. Twisting the cutter seals the edges, which can hinder the biscuit’s rise.
- Not Using Enough Leavening: Ensure your baking powder and baking soda are fresh. Using old leavening agents will result in flat, dense biscuits. Baking research confirms the direct correlation between fresh chemical leaveners and optimal baked good volume.
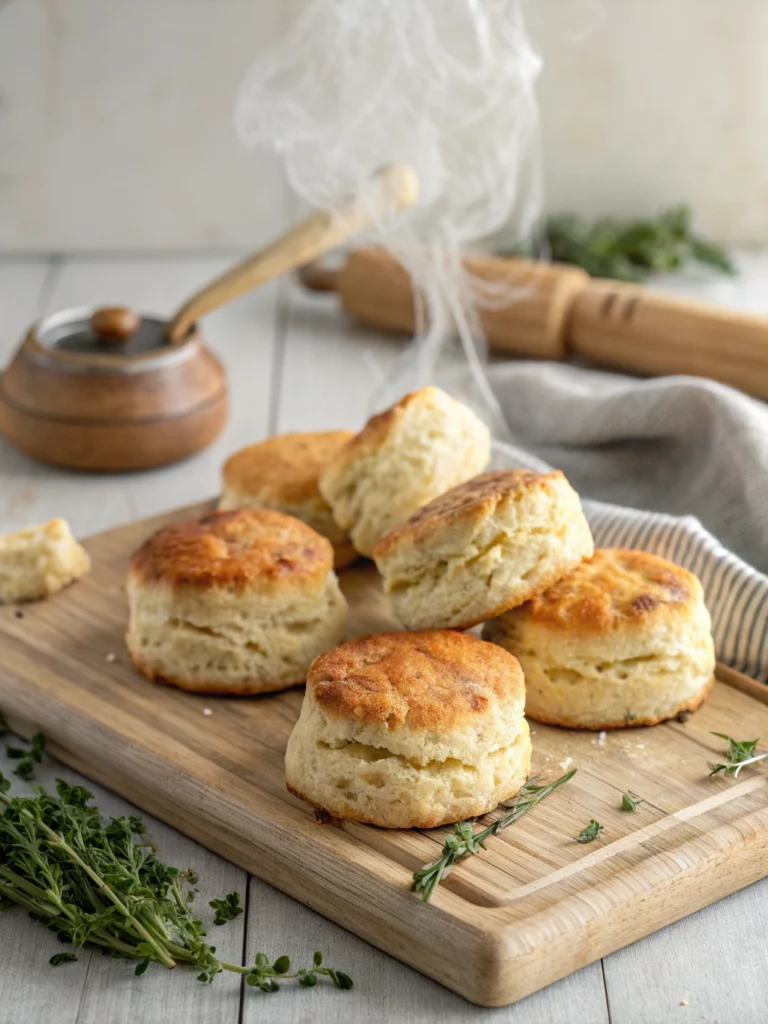
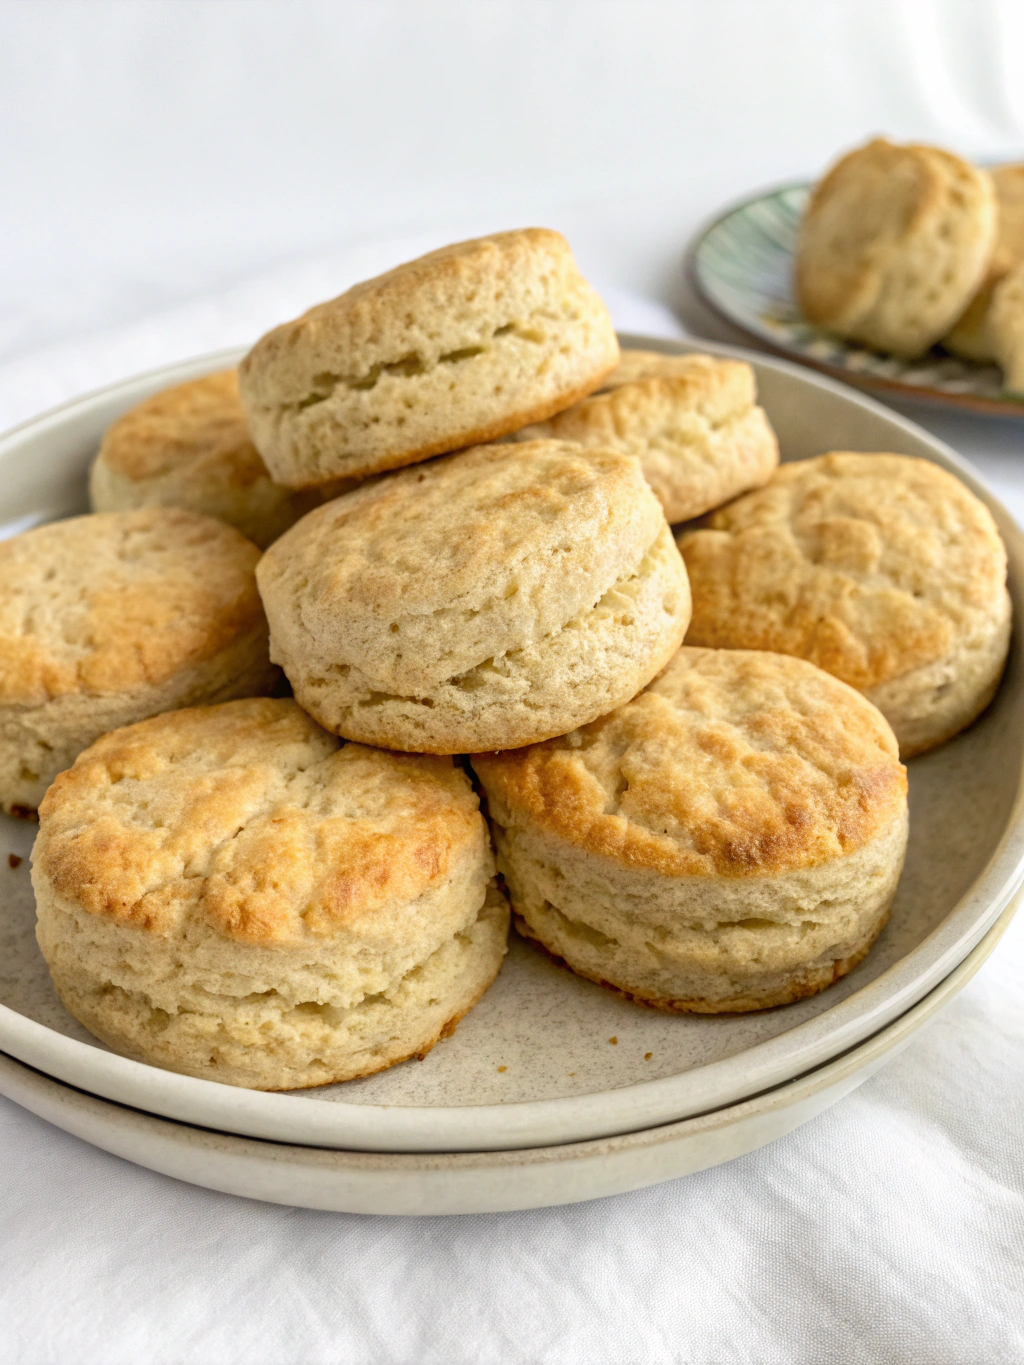
By being mindful of these common errors, you’re significantly increasing your chances of baking those perfect, sky-high gluten free biscuits you’re dreaming of.
Storing Tips for the Recipe
Once you’ve baked a batch of these delightful gluten free biscuits, you’ll want to keep them fresh. Proper storage is key to maintaining their texture and flavor.
- Room Temperature: Cooled biscuits can be stored in an airtight container at room temperature for 1-2 days. For best results and to prevent them from drying out, wrap them individually in plastic wrap before placing them in the container.
- Refrigeration: If you need to store them for longer than two days, refrigerate them in an airtight container for up to a week. Reheating refrigerated biscuits in the oven is recommended to restore their texture.
- Freezing Baked Biscuits: Cooked and cooled biscuits freeze beautifully. Wrap each biscuit tightly in plastic wrap, then place them in a freezer-safe bag or container. They can be frozen for up to 2-3 months. To reheat, thaw them overnight in the refrigerator and then warm them in a preheated oven (300°F/150°C) for 10-15 minutes, or until heated through.
- Freezing Unbaked Biscuits: You can also freeze the shaped, unbaked biscuits. Place them on a parchment-lined baking sheet and freeze until solid. Once frozen, transfer them to a freezer-safe bag. Bake from frozen, adding a few extra minutes to the baking time. This is a fantastic option for having fresh gluten free biscuits on demand.
Proper storage not only preserves freshness but also allows you to enjoy your homemade gluten free biscuit recipe creations over several days, minimizing waste.
Conclusion
There you have it – a comprehensive guide to baking incredibly tender and delicious gluten free biscuits in just 5 easy steps. We’ve covered everything from the essential ingredients and precise timings to helpful tips, nutritional insights, and smart storage solutions. You no longer have to settle for dry, flavorless alternatives. With a little care and attention to technique, particularly using cold ingredients and avoiding overmixing, you can achieve bakery-worthy results right at home.
Now it’s your turn! Don’t let the perceived complexity of gluten-free baking hold you back. Gather your ingredients, follow these straightforward steps, and experience the joy of biting into a warm, flaky, homemade gluten free biscuit. We encourage you to try this recipe and share your experience! Did you make any interesting substitutions? What’s your favorite way to serve these biscuits? Share your photos and insights in the comments below. Looking for more delicious gluten-free baking ideas? Explore our other recipes and become a gluten-free baking pro!
FAQs
Have a few lingering questions about making the perfect gluten free biscuits? Here are answers to some common queries:
Q: Why are my gluten-free biscuits collapsing or not rising?
A: This is often due to inactive leavening agents (baking powder and baking soda). Ensure they are fresh. It can also be caused by overmixing the dough, which can prevent proper lift, or by not using cold enough ingredients.
Q: Can I make this dough ahead of time?
A: Yes, you can prepare the dough and cut out the biscuits, then refrigerate them on a baking sheet (covered loosely) for a few hours before baking. For longer storage, follow the freezing instructions in the “Storing Tips” section.
Q: My gluten-free biscuits taste gritty. What went wrong?
A: The grittiness is likely due to the type of gluten-free flour blend you used. Look for a fine-textured all-purpose blend specifically designed for baking, ideally containing rice flour, potato starch, and tapioca starch. Some blends are better suited for certain applications than others. Researching popular and well-reviewed gluten-free flour blends can help you find one that works well for biscuits.
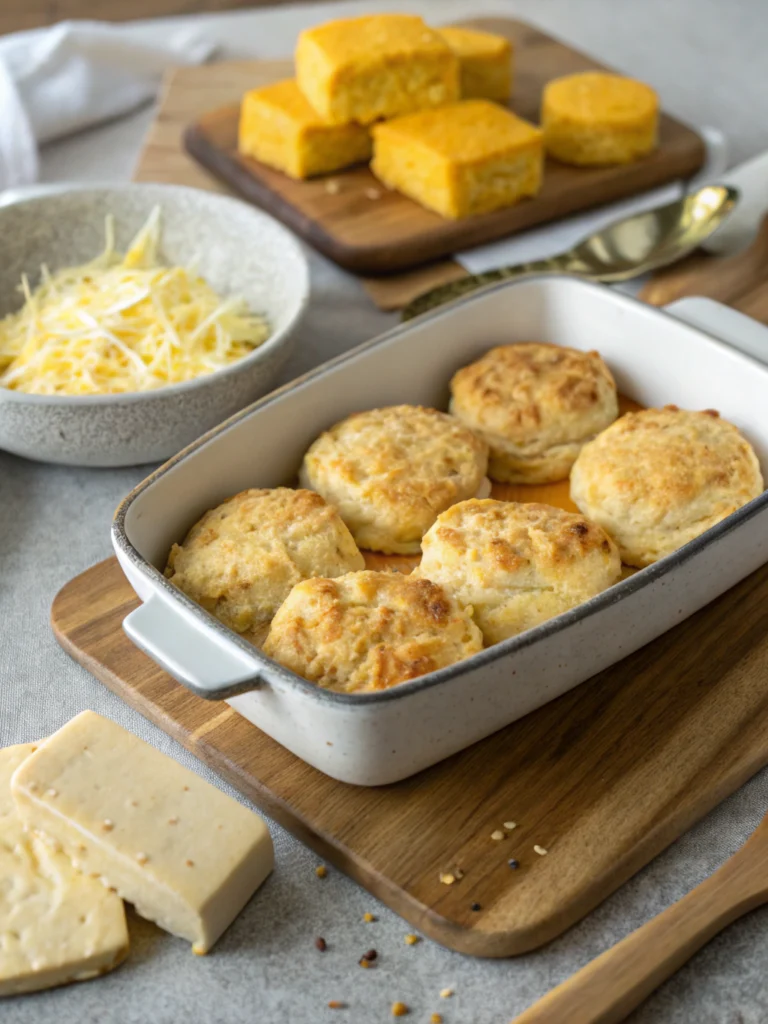
Q: Can I add cheese or herbs to this recipe?
A: Absolutely! You can gently fold in about 1/4 to 1/2 cup of shredded cheese (like cheddar or Parmesan) and/or 1-2 tablespoons of fresh chopped herbs (like chives or rosemary) after adding the buttermilk but before shaping. This adds a wonderful savory element to your gluten free biscuits. Make sure any additions are cold if possible.
Q: How do I know when the biscuits are cooked through?
A: Biscuits are cooked when they are golden brown on the tops and bottoms and feel firm to the touch. You can also insert a toothpick into the center; it should come out clean. Be aware that gluten-free baked goods can look fully cooked on the outside but still be slightly doughy inside if not baked long enough.