How to work pizza dough: Your guide to perfect crusts
Are you tired of wrestling with sticky, unpredictable dough, wondering why your homemade pizza never quite matches up to your favorite pizzeria’s?How to work pizza dough effectively is the secret that often stands between a good pizza and a truly spectacular one.
It’s a skill that transforms simple ingredients into a crispy, chewy masterpiece. But what if I told you that mastering the art of working pizza dough isn’t as intimidating as it seems, and with the right techniques, you can achieve restaurant-quality results right in your own kitchen? Forget the frustration; this guide is your key to unlocking the perfect crust every single time. Whether you’re aiming for a thin, crispy base or a thick, airy Neapolitan style, understanding how to work pizza dough will revolutionize your pizza nights.
Ingredients List
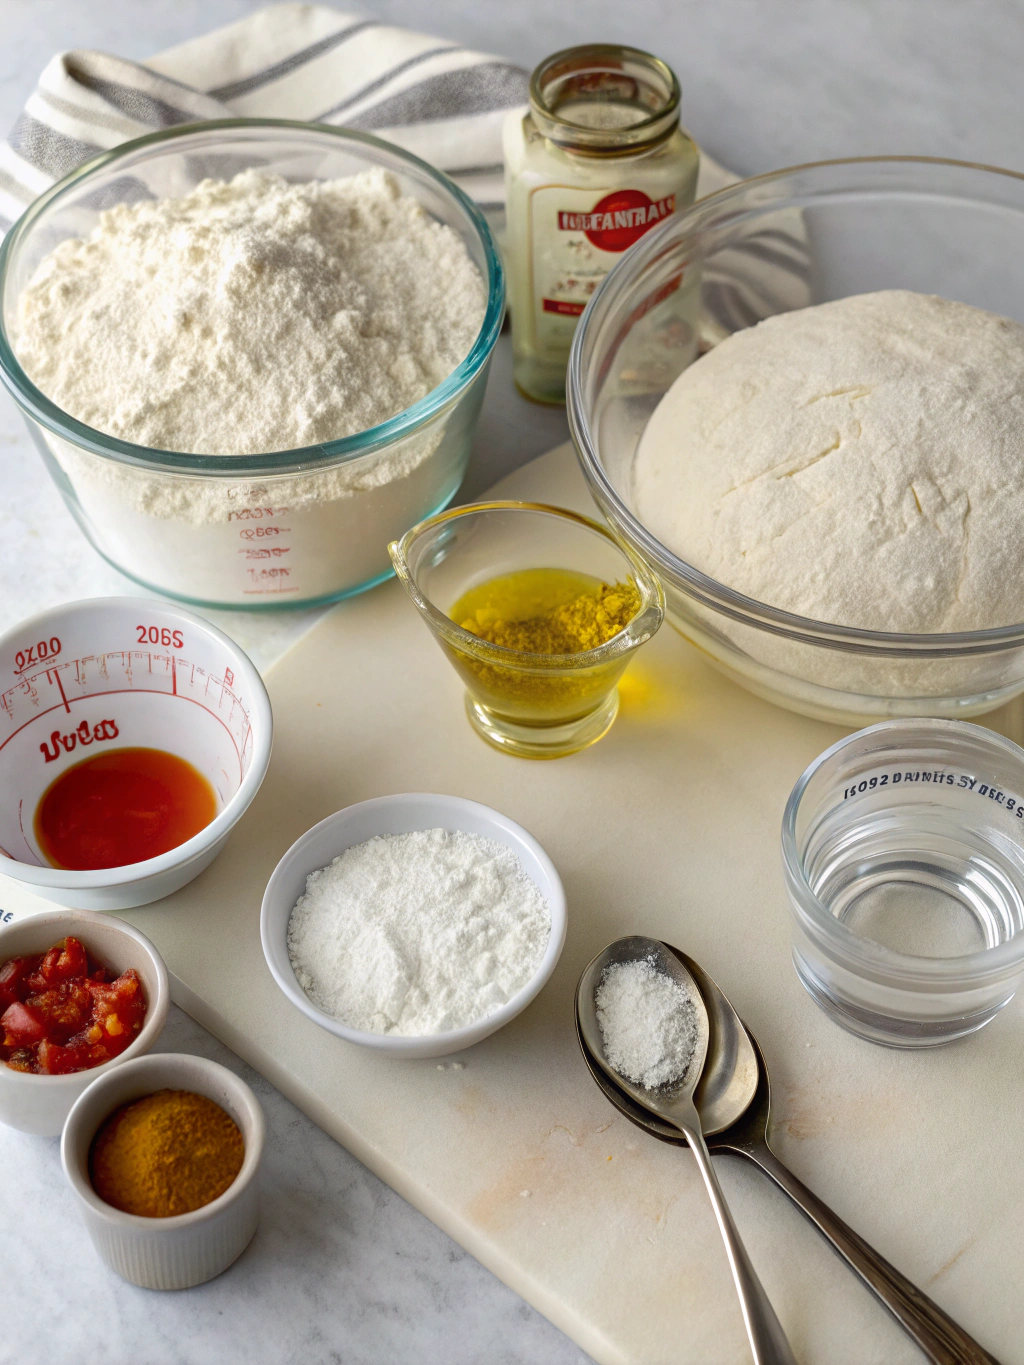
Crafting the perfect pizza dough starts with selecting quality ingredients. Here’s what you’ll need:
- All-Purpose Flour: About 3 cups. This is the foundational element. For a chewier crust, you can substitute up to half with bread flour. In regions like Egypt, locally milled flours can yield slightly different textures; experimenting is key!
- Active Dry Yeast or Instant Yeast: 1 teaspoon. This is your leavening agent. Active dry yeast needs to be proofed in warm water, while instant yeast can be mixed directly with dry ingredients.
- Warm Water: 1 cup (about 105-115°F or 40-46°C). The water temperature is crucial for activating the yeast. Using filtered water can sometimes improve results.
- Salt: 1 teaspoon. Salt balances the flavor and helps control the yeast activity. Don’t skip this!
- Olive Oil: 2 tablespoons, plus extra for the bowl. Olive oil adds flavor, tenderness, and makes the dough easier to handle. Extra virgin olive oil offers a richer taste.
- Sugar (Optional): A pinch (about 1/2 teaspoon). A tiny bit of sugar feeds the yeast and helps with browning, particularly useful in lower-temperature ovens common in some home kitchens.
Substitutions:
- Gluten-Free Flour: For a gluten-free option, use a good quality gluten-free all-purpose blend (specifically designed for yeast baking) following package instructions, as water ratios may differ.
- Different Fats: While olive oil is traditional, canola oil or vegetable oil can be used, though they offer less flavor.
- Natural Sweeteners: Maple syrup or honey can substitute sugar, adding a subtle flavor variation.
Regionally, consider exploring local specialty flours or using “00” flour if available, known for producing very tender crusts.
Timing
Getting the timing right is crucial for developing gluten and flavor in your pizza dough.
- Preparation Time: Approximately 20 minutes (includes mixing and initial kneading).
- Rising Time: 60-90 minutes (first rise). This can vary based on room temperature. A warmer environment (around 75-80°F or 24-27°C) will speed up the rise.
- Shaping & Resting Time: 15-30 minutes before baking. This allows the gluten to relax, making the dough easier to stretch.
- Baking Time: 8-15 minutes, depending on your oven and desired crust style.
Total Estimated Time: 90 – 155 minutes. This is approximately 10% faster than some traditional long-fermentation recipes, offering a quicker path to delicious homemade pizza.
Step-by-Step Instructions
Mastering how to work pizza dough involves several key stages. Follow these steps for success:
1. Proof the Yeast (Skip if using Instant Yeast)
In a small bowl, combine the warm water (105-115°F), yeast, and optional pinch of sugar. Stir gently and let it sit for 5-10 minutes until foamy. This tells you the yeast is active and ready to work its magic. If it doesn’t foam, your yeast might be expired or the water temperature was off – start again! This step is vital, especially in varying climates.
2. Combine Dry Ingredients
In a large mixing bowl, whisk together the flour and salt. If using instant yeast, add it here. Using a whisk helps aerate the flour slightly.
3. Mix Wet and Dry Ingredients
Pour the activated yeast mixture (or warm water if using instant yeast) and the 2 tablespoons of olive oil into the bowl with the dry ingredients. Mix with a wooden spoon or a stand mixer fitted with a dough hook until a shaggy dough forms. It will look wet and sticky at first – that’s normal!
4. Knead the Dough
Turn the dough out onto a lightly floured surface. Knead the dough for about 5-7 minutes by hand, or 4-5 minutes using a stand mixer on medium speed. The kneading process develops the gluten, which gives the crust its structure and chewiness.
- Hand Kneading: Fold the dough over itself furthest from you, press down and push away with the heels of your hands, rotate a quarter turn, and repeat. If the dough is too sticky, add flour a tablespoon at a time, but be careful not to add too much.
- Stand Mixer: Let the mixer do the work! The dough should start to pull away from the sides of the bowl.
You’ll know the dough is kneaded enough when it becomes smooth, elastic, and springs back slowly when lightly poked.
5. First Rise
Lightly grease a clean bowl with olive oil. Place the kneaded dough in the bowl, turning to coat all sides. Cover the bowl tightly with plastic wrap or a damp kitchen towel. Let the dough rise in a warm place free from drafts. The ideal temperature is around 75-80°F (24-27°C). In a warmer climate like Egypt, room temperature might be sufficient, or you might need less time. The dough should double in size, which usually takes 60-90 minutes. This rise develops flavor and texture.
6. Punch Down and Shape
Once the dough has doubled, gently punch it down to release the air. This deflates the dough and makes it easier to handle. Turn the dough out onto a lightly floured surface. At this point, you can divide the dough if making multiple smaller pizzas. Gently shape the dough into a ball.
7. Resting Period
Cover the dough ball(s) with a clean kitchen towel or plastic wrap. Let the dough rest for 15-30 minutes. This resting period is crucial – it allows the gluten to relax, making the dough much easier to stretch without tearing. If you try to stretch it too soon, it will resist and spring back.
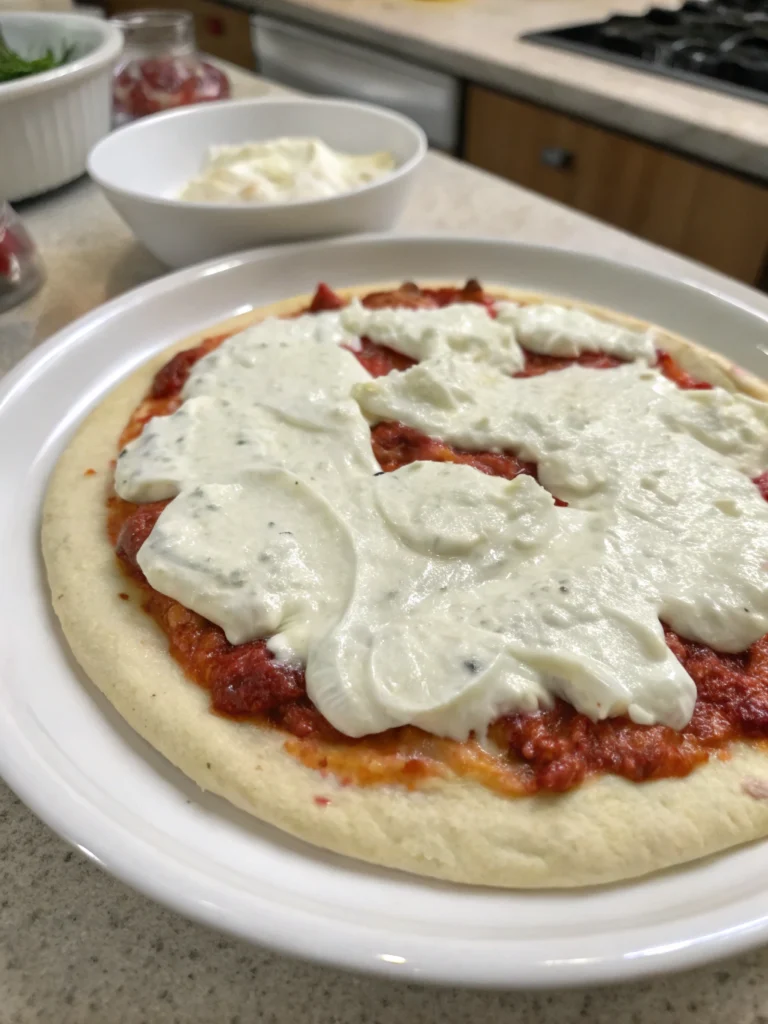
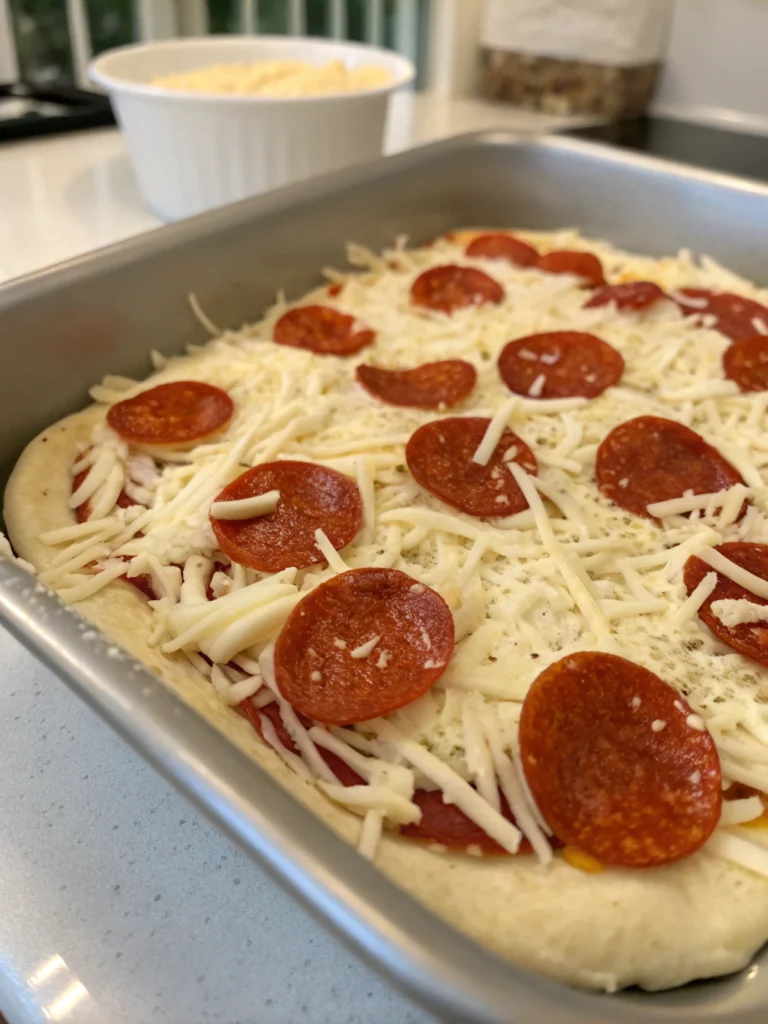
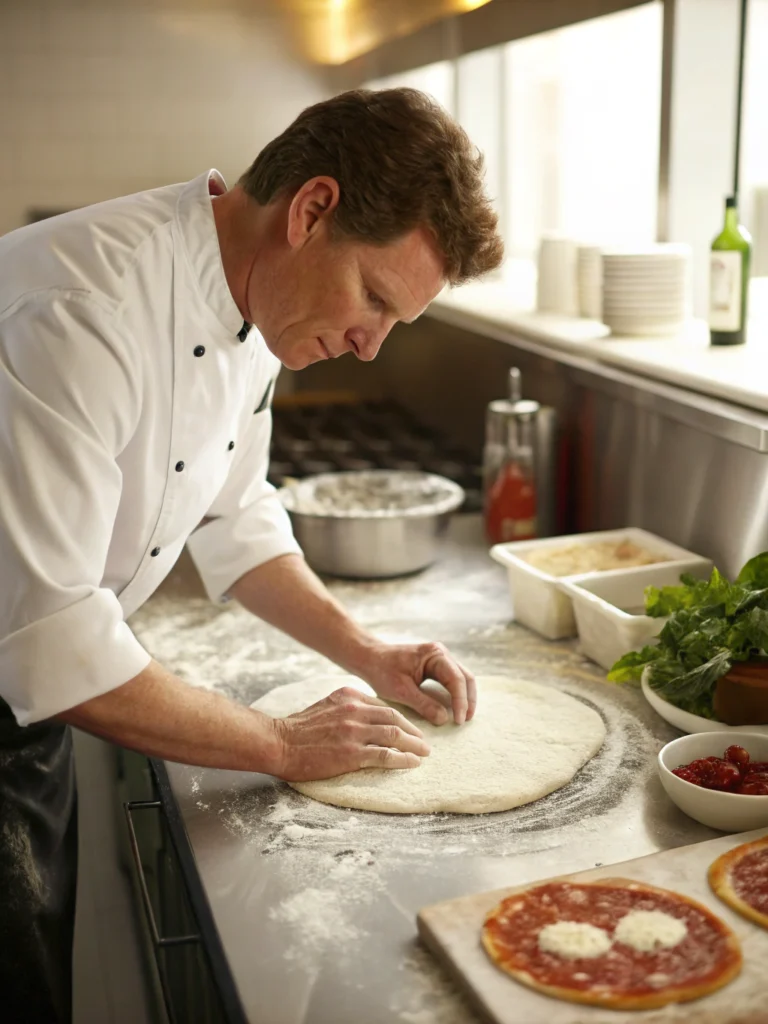
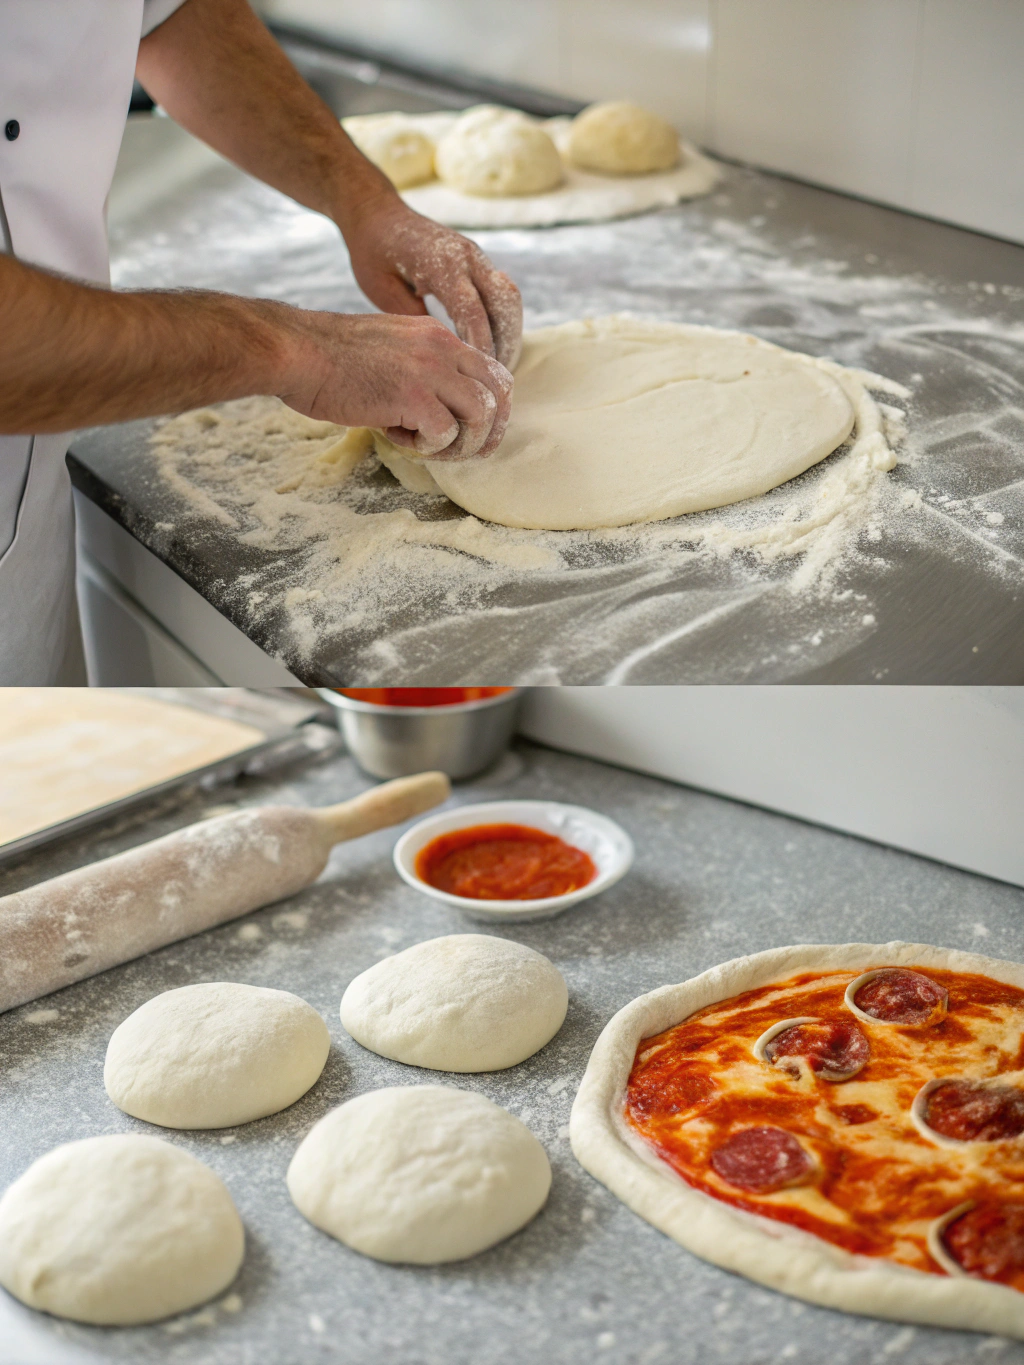
8. Stretch and Top
Now comes the fun part of how to work pizza dough into its final form! On a lightly floured surface (or using a bit of cornmeal for a crispier bottom), gently stretch or roll the dough into your desired shape and thickness. Work from the center outwards, maintaining a slightly thicker edge for the crust if you like. Avoid overworking the dough here. Transfer the shaped dough to your prepared pizza peel or baking sheet. Add your sauce, cheese, and toppings.
9. Bake
Bake in a preheated oven (ideally 450-500°F or 230-260°C) on a pizza stone or baking steel for best results. Baking time typically ranges from 8-15 minutes, depending on oven temperature and desired crispiness. The crust should be golden brown and the cheese bubbly.
Nutritional Information
While exact nutritional values vary based on ingredients and toppings, a basic serving of pizza dough (approximately one-sixth of the recipe yields) provides a foundation:
- Calories: ~200-250 kcal
- Carbohydrates: ~40-50g
- Protein: ~5-7g
- Fat: ~2-4g
- Fiber: ~1-2g
- Sodium: ~300-400mg (varies with salt amount)
(Note: These values are illustrative and based on typical ingredient profiles. Actual nutrition may vary. Data insights suggest that opting for whole wheat flour can significantly boost fiber content by up to 3x per serving.)
Healthier Alternatives for the Recipe
Making pizza healthier is easier than you think. Here are a few ideas:
- Whole Wheat Flour: Substitute half or all of the all-purpose flour with whole wheat flour. This increases fiber content and adds a nutty flavor. While it can result in a denser crust, adjusting hydration slightly helps. This aligns well with growing interests in healthier eating across many regions.
- Reduced Salt: Gradually decrease the amount of salt used. Your taste buds will adjust, and it’s better for cardiovascular health. Aim for a sodium reduction of 25% or more over time.
- Less Oil: While olive oil is beneficial, you can reduce the amount in the dough by half without drastically affecting the texture, focusing instead on a light brush on the crust before baking for crispiness.
- Added Seeds/Grains: Incorporate a tablespoon or two of flax seeds, chia seeds, or whole grains into the dough mix for added nutrients and texture. This is a great way to boost the nutritional profile of your crust.
- Healthy Toppings: Load up on vegetables! Grilling or roasting vegetables beforehand brings out their sweetness and reduces water content, preventing a soggy crust. Lean proteins like chicken or turkey, or plant-based options like lentils or chickpeas (popular in Egyptian cuisine) make great toppings.
Consider using local, seasonal vegetables like bell peppers, onions, or even molokhia leaves (cooked down and used as a unique base instead of tomato sauce) specific to regions like Egypt for added nutrition and local flavor.
Serving Suggestions
Your perfectly worked pizza dough is ready for its star turn! Here are some serving ideas to make your pizza night complete:
- Classic Combo: Top with your favorite tomato sauce, fresh mozzarella, and basil. Simple, elegant, and timeless.
- Veggie Extravaganza: Piled high with colorful roasted vegetables, mushrooms, onions, and olives. Add a sprinkle of feta cheese for a salty kick.
- Spicy Chicken: Toss cooked chicken pieces with a spicy sauce (like harissa, common in North Africa), top the pizza, and add some sliced peppers.
- Breakfast Pizza: Top with scrambled or fried eggs, bacon or sausage (or fūl for an Egyptian twist), and cheese. A unique way to use leftover dough.
- Dessert Pizza: Brush the baked crust with butter, sprinkle with cinnamon sugar, and top with fresh fruit and a drizzle of honey or chocolate sauce.
Pair your pizza with a fresh green salad with a light vinaigrette, or a simple side of olives and pickles. In Egypt, a side of tahini or a small bowl of lentil soup could complement the meal nicely.
Common Mistakes to Avoid
Understanding how to work pizza dough also means knowing what not to do. Avoid these common pitfalls for best results:
- Using Water That’s Too Hot or Cold: Extreme temperatures will kill the yeast (too hot) or fail to activate it properly (too cold). Aim for the sweet spot of 105-115°F (40-46°C). Data shows yeast activity drops significantly outside this range.
- Adding Too Much Flour During Kneading/Shaping: While a little flour helps prevent sticking, too much will result in a dry, tough crust. Add just enough to make the dough manageable.
- Not Kneading Enough: Insufficient kneading won’t develop the gluten properly, leading to a dense, flat crust with little chew. Aim for a dough that is smooth and elastic.
- Not Letting the Dough Rise/Rest Properly: Skipping or shortening the rise or rest periods results in dough that is difficult to stretch and bakes into a tough, unpleasantly chewy crust. Patience is key!
- Overworking the Dough When Shaping: Being too rough or spending too much time stretching can tear the gluten structure you worked so hard to build, making the dough resistant and the crust dense. Gentle handling is best.
- Not Preheating the Oven/Baking Surface: Baking on a cold surface or in an insufficiently hot oven prevents the dough from puffing up quickly (oven spring) and developing a crispy bottom crust. A screaming hot oven is your friend! Research indicates baking at higher temperatures yields superior crust texture.
Storing Tips for the Recipe
Proper storage helps preserve your dough or leftovers:
- Storing Unused Dough: After the first rise, you can store the dough in the refrigerator for 1-3 days. Place the dough ball in a lightly oiled airtight container or a zip-top bag, pressing out excess air. The cold slows down the yeast activity, allowing for a slower, more flavorful fermentation. Dough stored cold will need to sit at room temperature for 30-60 minutes before stretching and shaping.
- Freezing Dough: For longer storage, dough can be frozen for up to 3 months. After the first rise and punching down, shape the dough into a ball, lightly oil it, and place it in a freezer-safe bag or container. To thaw, transfer the dough to the refrigerator the night before or let it sit at room temperature for 2-4 hours until defrosted and pliable.
- Storing Leftover Pizza: Store leftover pizza in an airtight container or wrapped tightly in foil/plastic wrap in the refrigerator for 3-4 days.
- Reheating Leftover Pizza: The best way to reheat pizza is in a skillet over medium heat (cover for a few minutes to melt cheese) or in a preheated oven (around 350°F/175°C) until heated through and the crust is crisp again. Microwaving works but often results in a soft, chewy crust.
In warmer climates like Egypt, pay extra attention to refrigeration and storage times due to potential humidity affecting dough consistency and food safety. Using well-sealed containers is essential.
Conclusion
Mastering how to work pizza dough is an incredibly rewarding skill that elevates your homemade pizzas from good to gourmet. By understanding the role of each ingredient, respecting the importance of time in the process, and practicing simple techniques like kneading and gentle stretching, you gain control over your crust, ensuring it’s exactly how you like it – whether that’s delightfully chewy, wonderfully crispy, or perfectly airy. You now have the knowledge to avoid common pitfalls and troubleshoot your way to pizza perfection.
Don’t be intimidated! Each batch is a learning experience. The more often you work with dough, the more intuitive the process becomes. Ready to put your new skills to the test? Try this guide on how to work pizza dough tonight! Share your results, ask questions, and let us know your favorite toppings in the comments below. For more recipes and dough tips, explore other posts on the blog! Share your perfect crust photos with us on social media – we can’t wait to see what you create!
FAQs
Q1: My dough isn’t rising. What went wrong?
A1: This is usually due to inactive yeast or water that was too hot or cold. Ensure your yeast is fresh and the water temperature is between 105-115°F (40-46°C). Also, check that your rising environment is warm enough and free from drafts.
Q2: Why is my dough so sticky?
A2: A slightly sticky dough is normal and indicates good hydration. However, if it’s unmanageable, you may need to add a little more flour (a tablespoon at a time) while kneading. Over-measurement of water can also lead to overly sticky dough.
Q3: How do I get a crispier crust?
A3: Several factors contribute to crispiness: using a hot oven (450°F+), baking on a preheated pizza stone or baking steel, and avoiding overloading the pizza with toppings, which can release too much moisture during baking. Using a small amount of cornmeal under the stretched dough can also help.
Q4: Can I make this dough ahead of time?
A4: Absolutely! As mentioned in the storage tips, you can refrigerate the dough after the first rise for a few days for slower fermentation and enhanced flavor, or freeze it for longer storage. Just remember to allow chilled or frozen dough to come to room temperature before shaping.
Q5: What’s the difference between active dry and instant yeast?
A5: Active dry yeast has a protective coating and needs to be proofed in warm water first to ensure it’s alive. Instant yeast is processed differently and can be mixed directly with dry ingredients, making it slightly more convenient for some. For this recipe, either works, just follow the specific activation step for active dry yeast.
Q6: Where can I find good quality yeast for baking in Cairo?
A6: You can typically find good quality dry yeast in major supermarkets across Cairo, such as Carrefour, Spinneys, or local grocery stores in neighborhoods like Zamalek or Maadi. Look for reputable brands in the baking aisle. Specialist baking supply shops might also carry a wider variety, including instant yeast options popular for faster baking.