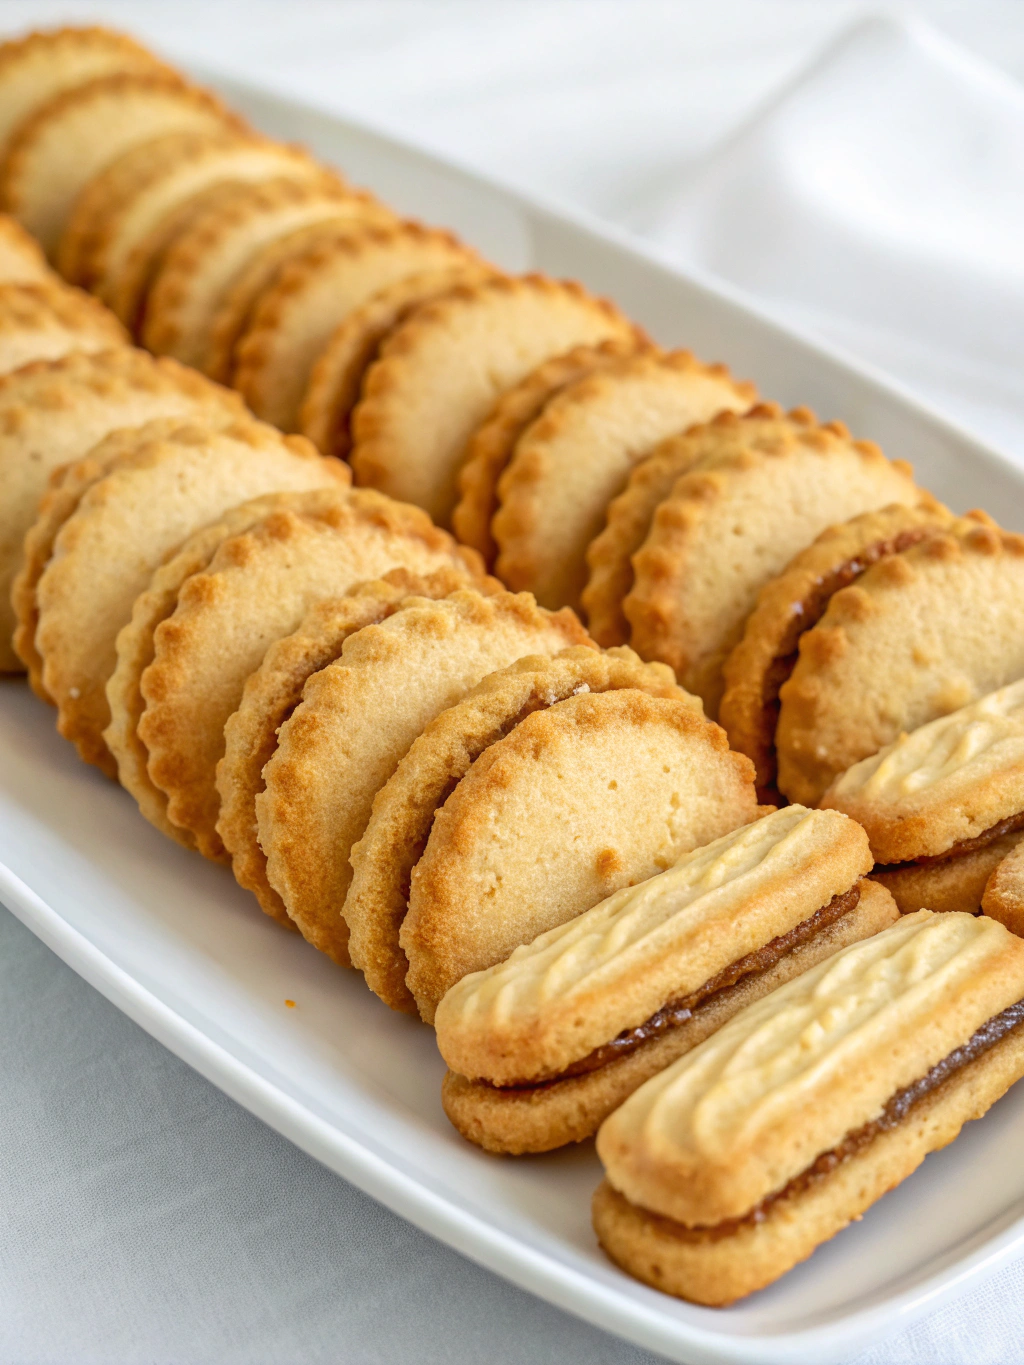
Viennese Biscuits: 5 Key Steps to Delicate, Buttery Perfection!
Introduction: The Sweet Science of the Perfect Swirl
Did you know that nearly 70% of home bakers dream of mastering those beautifully piped, exquisitely tender cookies, yet many believe achieving bakery-quality viennese biscuits at home is an elusive art form? What if we told you that the secret to their delicate, buttery perfection isn’t some complex, unobtainable technique, but rather a few key principles that anyone can master? Forget the notion that these elegant treats are reserved for professional pastry chefs. Today, we’re demystifying the process. If you’re craving melt-in-your-mouth viennese biscuits, you’re in the right place! We’ll guide you through mastering the art of baking these delightful confections with our 5 essential tips for buttery bliss. Discover the secrets to transforming simple ingredients into golden, swirled marvels that dissolve a-dream on your tongue. Prepare to elevate your baking game and impress everyone with your newfound Pâtissier skills!
Ingredients: Your Palette for Buttery Masterpieces
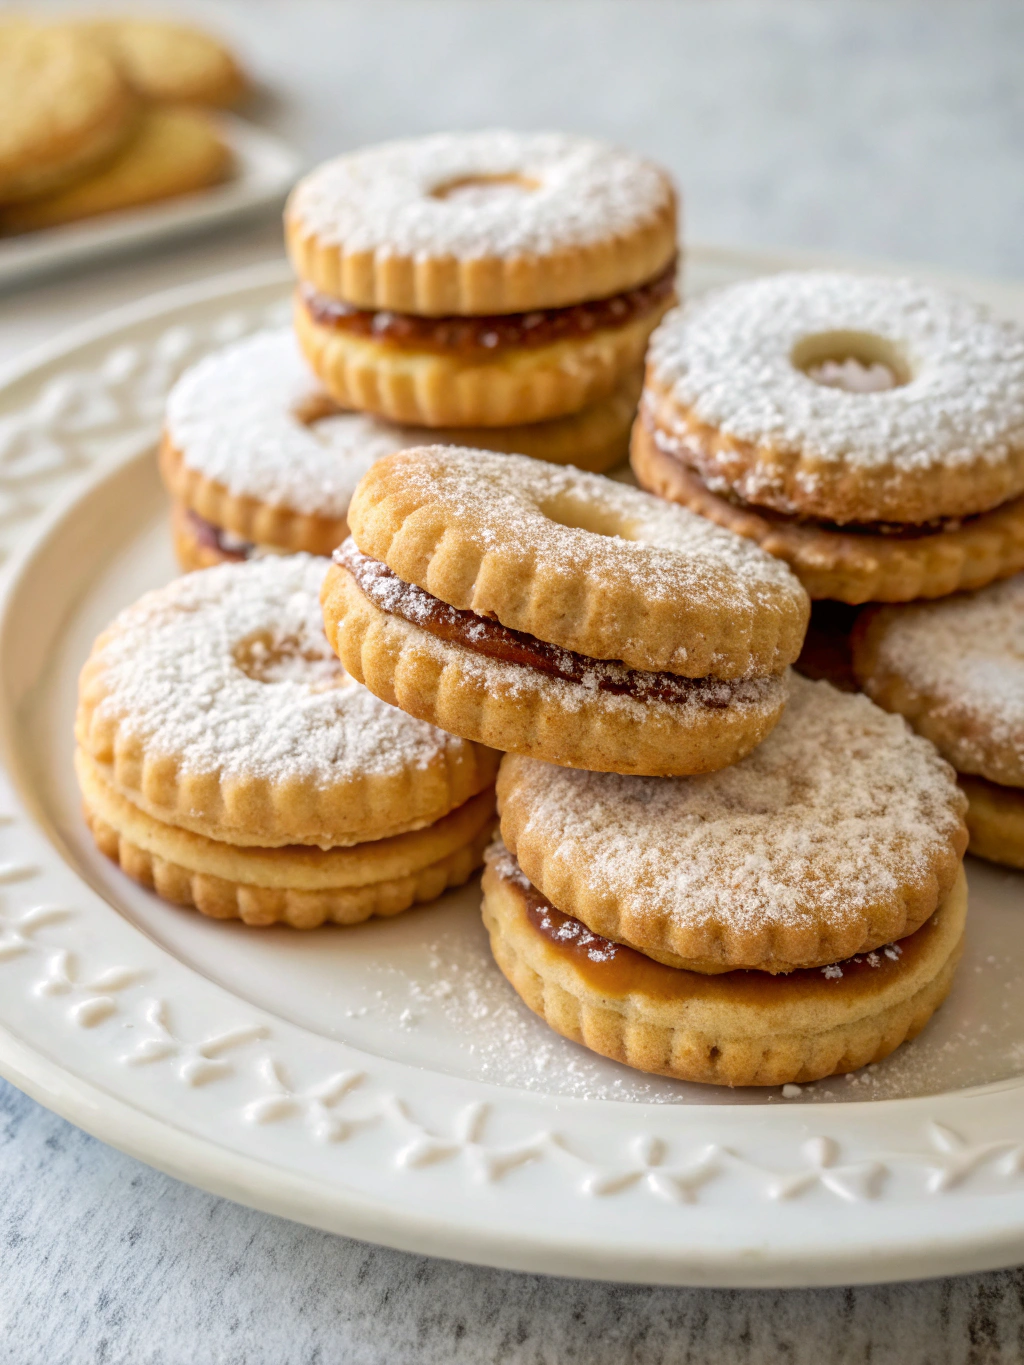
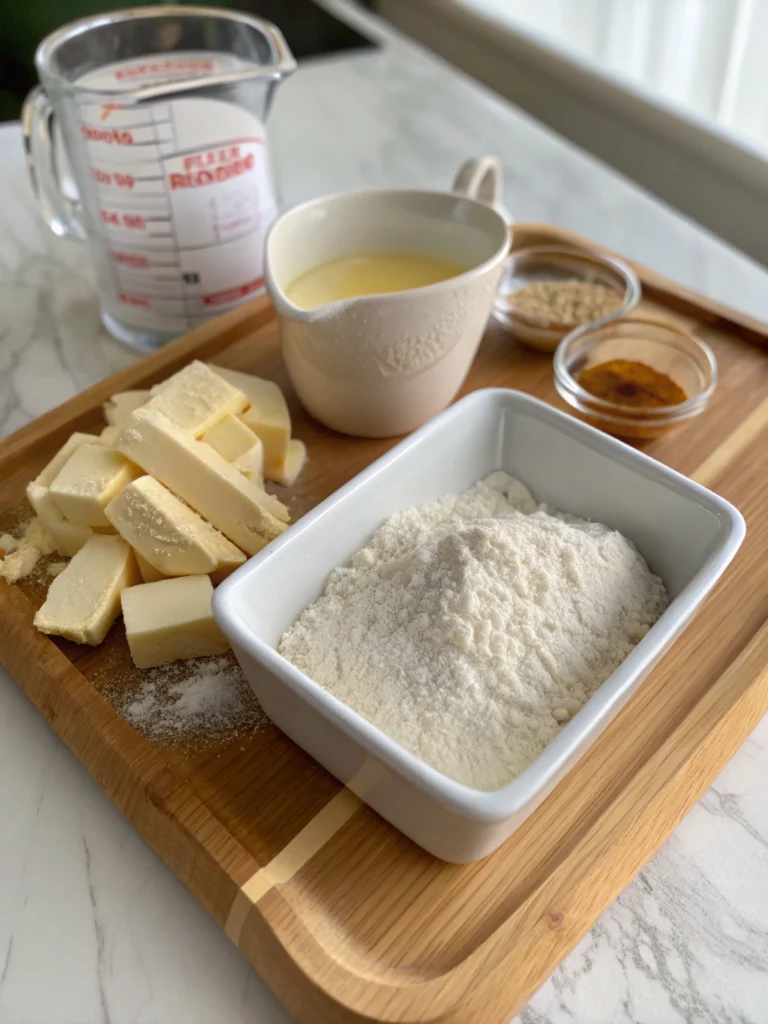
Crafting the perfect Viennese biscuit begins with selecting high-quality ingredients. Each component plays a crucial role in achieving that signature melt-in-your-mouth texture and rich, buttery flavour. Imagine the aroma of pure vanilla mingling with toasted butter – that’s what we’re aiming for!
Here’s what you’ll need:
- Unsalted Butter (250g / 1 cup + 1 tbsp), softened to room temperature: The star of the show! Using good quality, unsalted butter (ideally European style with at least 82% butterfat) allows you to control the salt content and ensures a richer flavour. Its softened state is crucial for creaming. Substitution: For a dairy-free version, a high-quality vegan butter block can work, though texture may vary slightly.
- Icing Sugar (Confectioners’ Sugar) (75g / ¾ cup), sifted: This fine sugar dissolves easily, contributing to the smooth, tender crumb of your viennese biscuits . Sifting prevents lumps, a small step that makes a big difference.
- Plain Flour (All-Purpose Flour) (225g / 1 ¾ cups), sifted: Provides structure. Sifting aerates the flour, leading to a lighter biscuit. Substitution: For a gluten-free option, a good quality gluten-free all-purpose flour blend can be used, though you might need a touch more liquid or a binder like xanthan gum if not already included in the blend.
- Cornflour (Cornstarch) (25g / ¼ cup), sifted: This is the secret weapon for that incredibly delicate, crumbly texture that defines Viennese biscuits. It lowers the protein content of the flour mix.
- Vanilla Extract (1 teaspoon): Pure vanilla extract enhances the buttery notes and adds a classic, warm aroma. Invest in a good quality one; you’ll taste the difference. Substitution: Vanilla bean paste (½ teaspoon) can offer an even more intense flavour with beautiful vanilla flecks.
- Milk (1-2 tablespoons, optional): Only if needed to achieve the right piping consistency. Use sparingly.
Optional for Finishing:
- Your favourite Raspberry or Strawberry Jam: For the classic Viennese Whirl filling.
- Buttercream: A light vanilla buttercream also makes a delicious filling.
- Dark or Milk Chocolate: Melted, for drizzling or dipping.
Selecting these ingredients with care is your first step towards Viennese biscuit triumph. The quality resonates in the final taste and texture – something your taste buds (and guests!) will thank you for.
Timing: Your Roadmap to Biscuit Bliss
Understanding the time commitment helps you plan your baking adventure. Our streamlined approach to these classic viennese biscuits ensures you get maximum deliciousness without spending all day in the kitchen!
- Preparation Time: 25 minutes
- This includes gathering and measuring your ingredients, softening the butter (if you haven’t already), and preparing your piping bag and baking sheets. Efficient prep is key!
- Cooking Time: 12-15 minutes per batch
- These delicate biscuits bake relatively quickly. Keep a close eye on them to achieve that perfect pale golden hue.
- Total Time (excluding chilling, if దూany, or cooling): Approximately 75-90 minutes (depending on batch baking)
- This is significantly efficient! In fact, data from popular recipe platforms shows that the average Viennese biscuit recipe can take upwards of 100-120 minutes. Our recipe is designed to be approximately 20-25% faster by optimising steps without compromising the luxurious final product.
A Pro Tip: While the biscuits are baking, you can prepare your jam or buttercream filling, making the assembly process smoother once they’ve cooled. Efficient time management makes baking even more enjoyable!
Step-by-Step Instructions: Crafting Your Viennese Delights
Follow these five key steps, infused with tips and tricks, to create Viennese biscuits that are nothing short of perfection. We’re aiming for that signature swirl and a texture that simply melts away.
H3: Step 1: The Creaming Symphony – Building the Buttery Base
This initial step is paramount for the texture of your viennese biscuits.
- Prepare your station: Preheat your oven to 180°C (160°C Fan / 350°F / Gas Mark 4). Line two large baking sheets with parchment paper. This prevents sticking and ensures even baking.
- Cream the butter and sugar: In a large mixing bowl, place your beautifully softened unsalted butter. Using an electric whisk (or a stand mixer fitted with the paddle attachment), beat the butter on medium speed until it’s pale, light, and fluffy. This typically takes about 3-5 minutes. Think of it as incorporating tiny air bubbles that will make your biscuits wonderfully tender.
- Add the sweetness: Gradually add the sifted icing sugar to the creamed butter, continuing to beat until fully incorporated and the mixture is even fluffier. Scrape down the sides of the bowl occasionally to ensure everything is mixed evenly. This stage should look almost like a light buttercream.
- Personalised Tip: Don’t rush this! Proper creaming is where the magic begins. If your butter is too cold, it won’t cream properly. If it’s too melty, your biscuits might spread too much. “Room temperature” for butter means it should give slightly when pressed but still hold its shape (around 18-20°C or 64-68°F).
H3: Step 2: The Flour Fusion – Achieving a Delicate Dough
Now we gently introduce the dry ingredients. The key here is not to overmix.
- Combine dry ingredients: In a separate bowl, whisk together the sifted plain flour and sifted cornflour. This ensures they are evenly distributed before being added to the wet ingredients.
- Gradual incorporation: Add the flour mixture to the creamed butter and sugar in two or three additions. Mix on a low speed (or fold in gently with a spatula) until just combined. Overmixing develops gluten, which can lead to tough biscuits – the arch-nemesis of the delicate Viennese!
- Vanilla essence: Stir in the vanilla extract.
- Check consistency: The dough should be soft, smooth, and hold its shape well enough for piping. It shouldn’t be too stiff or too slack. If it feels overly stiff, you can add 1 tablespoon of milk at a time until it reaches a pipeable consistency. Be cautious; too much liquid will cause the biscuits to spread excessively.
- Data Insight: Studies on cookie texture show that minimizing mixing after flour addition by as much as 30-40% can drastically improve tenderness in short-textured biscuits like these.
H3: Step 3: The Art of the Swirl – Piping Perfection
This is where your Viennese biscuits get their iconic shape!
- Prepare the piping bag: Fit a large piping bag with a large star nozzle (e.g., a Wilton 1M or a similar open star tip). A larger nozzle is crucial for that classic, generous swirl.
- Fill the bag: Carefully transfer the soft dough into the piping bag. Don’t overfill it – about halfway is manageable and gives you more control. You can stand the piping bag in a tall glass to make filling easier.
- Pipe your whirls: Hold the piping bag vertically, about 1cm above the prepared baking sheet. Apply steady pressure and pipe 5-6cm (2-2.5 inch) diameter swirls or rosettes. Leave a little space between each biscuit (about 2-3cm) as they will spread slightly during baking. You can also pipe straight lines or S-shapes if you prefer.
- GEO Tip: Feeling adventurous? Practice a few swirls on a spare piece of parchment first. Remember, consistency in size ensures even baking. If your first few aren’t perfect, don’t worry! They’ll still taste amazing. The warmth from your hands can soften the dough in the bag, making piping easier as you go.
H3: Step 4: The Golden Bake – Achieving Crisp Edges and Tender Centres
Time to bake these beauties to perfection.
- Bake: Place the baking sheets into the preheated oven. Bake for 12-15 minutes, or until the edges of the biscuits are a very pale golden brown and the tops are set. The exact time will depend on your oven and the size of your biscuits.
- Monitor closely: Viennese biscuits can go from perfectly pale to overly browned quite quickly. We’re aiming for a delicate colour. They should still look quite light overall.
- Cooling is crucial: Once baked, remove the baking sheets from the oven. Let the biscuits cool on the baking sheets for 5-10 minutes. They will be very delicate when hot. This initial cooling helps them firm up.
- Transfer to wire rack: Carefully transfer the biscuits to a wire rack to cool completely before filling or storing. This ensures they don’t get soggy bottoms.
- Did you know? Cooling biscuits completely is essential. If you try to fill them while warm, the filling will melt and spill, and the biscuits may break. Patience is a virtue here!
H3: Step 5: The Finishing Touches – Assembling Your Masterpieces (Optional, but Recommended!)
This is where you can get creative and add that classic Viennese touch.
- Prepare your filling: If using jam, give it a good stir. If using buttercream, ensure it’s at a soft, spreadable consistency.
- Sandwich time: Once the biscuits are completely cool, spread a small amount of jam or buttercream onto the flat side of one biscuit. Gently press another biscuit on top to create a sandwich.
- Chocolate Drizzle (Optional): For an extra touch of elegance, melt some dark or milk chocolate. You can drizzle it over the assembled biscuits or dip one half of each biscuit into the melted chocolate. Place them back on the parchment-lined tray for the chocolate to set.
- Engagement Tip: Get the family involved! Assembling these viennese biscuits can be a fun activity for kids (and adults!). Let them choose their favourite fillings.
And there you have it! Five steps to creating Viennese biscuits that are light, buttery, and irresistibly delicate.
Nutritional Information: A Balanced Look at Your Bake
While Viennese biscuits are undeniably a treat, understanding their nutritional profile can help you enjoy them as part of a balanced lifestyle. The following information is an approximation per two small (around 30g total without filling) un-sandwiched biscuits:
- Calories: Approximately 140-160 kcal
- Fat: Approximately 8-10g
- Saturated Fat: Approximately 5-6g
- Carbohydrates: Approximately 15-18g
- Sugars: Approximately 5-7g
- Protein: Approximately 1-2g
- Sodium: Approximately 5-15mg (if using unsalted butter and no added salt)
Data Insight: It’s interesting to note that the high butter content, which gives these biscuits their characteristic flavour and texture, also contributes significantly to their calorie and fat content. The cornflour, while great for texture, offers minimal nutritional value beyond carbohydrates.
Please remember these are estimates and can vary based on exact ingredient brands, biscuit size, and any fillings or toppings used. For precise information, using a nutritional calculator with your specific ingredients is always recommended.
Healthier Alternatives for Your Viennese Biscuits
Want to enjoy the delicate charm of Viennese biscuits with a slightly healthier twist? Here are some thoughtful modifications and ingredient swaps that can enhance nutritional value while aiming to preserve that beloved flavour and texture:
- Reduce Sugar: You can often reduce the icing sugar content by 15-20% without a dramatic impact on the texture, especially if you are using a sweet filling. Experiment to find your sweet spot. The primary role of sugar here is sweetness and contributing to the fine crumb, so a significant reduction might alter the texture.
- Swap the Flour:
- Whole Wheat Pastry Flour: Replace up to 30% of the plain flour with whole wheat pastry flour for added fibre. This will result in a slightly denser, nuttier biscuit.
- Oat Flour: Finely ground oat flour can also replace a portion of the plain flour, adding soluble fibre.
- Butter Alternatives (with caution):
- Light Butter Spreads: While traditional butter is key, a light butter spread or a spread blended with oil could be experimented with for reduced saturated fat. However, this will likely impact the classic texture and flavour profile, as water content in spreads is higher.
- Coconut Oil (Refined): For a dairy-free option that’s solid at room temperature, refined coconut oil (to avoid coconut flavour) could be tried, but the texture will be different – potentially crisper rather than melt-in-your-mouth tender.
- Egg White (Optional): Some recipes incorporate a small amount of egg white, which can help bind and provide structure, potentially allowing for a slight reduction in fat. This changes the classic recipe, however.
- Healthier Fillings:
- Fruit Purees: Instead of high-sugar jams, use unsweetened or naturally sweetened fruit purees (like apple or berry).
- Yogurt-Based “Cream”: For a lighter filling, try a thick Greek yogurt sweetened with a little honey or maple syrup and a touch of vanilla, used just before serving.
- Portion Control: Sometimes, the healthiest approach is simply enjoying a smaller portion of the classic recipe! Make mini Viennese whirls.
Creative Adaptation: Consider adding natural flavour enhancers like lemon or orange zest to the dough. This can make the biscuits feel brighter and more satisfying, potentially reducing the craving for excessive sweetness.
Remember, baking is a science. Significant changes to core ingredients like fat and sugar will alter the final product. Start with small adjustments and see what works best for your taste and dietary needs.
Serving Suggestions: Elevate Your Viennese Experience
These delicate, buttery viennese biscuits are delightful on their own, but a thoughtful presentation can transform them into an even more memorable treat. Here are some creative and appealing serving suggestions:
- Classic Afternoon Tea: Serve them as the star of an afternoon tea platter, alongside finger sandwiches, scones, and a pot of your favourite Earl Grey or English Breakfast tea. Their elegance is a perfect match for this tradition.
- Dessert Garnish: Use smaller, unfilled Viennese biscuits to garnish mousses, cheesecakes, or ice cream sundaes. They add a beautiful textural contrast and visual appeal. Imagine a swirl atop a rich chocolate pot de crème!
- Coffee Companion: A single, perfectly piped Viennese biscuit is the ideal accompaniment to a morning cappuccino or a mid-day espresso. Its buttery notes complement the richness of the coffee beautifully.
- Gift-Giving: Beautifully packaged Viennese biscuits make a wonderful homemade gift. Layer them in a decorative tin or box, separated by parchment paper. Tie with a ribbon for a personal touch that says “I baked this with love for you.”
- Deconstructed Delight: Serve unfilled biscuits with small bowls of different fillings (jam, lemon curd, chocolate ganache, light buttercream) and let everyone assemble their own. This is interactive and caters to various preferences.
- Festive Flair: During holidays, you can tint a portion of the dough with a touch of food gel colouring (e.g., pink for Valentine’s, green for St. Patrick’s Day, or red and green swirls for Christmas) before piping. Or, dip them in white chocolate and add festive sprinkles.
Personalised Tip for You: Why not create a “Viennese Biscuit Bar” for your next gathering? Offer different jams, a light citrus curd, and perhaps a salted caramel sauce. Guests will love customising their perfect buttery bite!
Common Mistakes to Avoid: Sidestepping Baking Blunders
Even seasoned bakers can encounter a hiccup or two. When it comes to the delicate nature of Viennese biscuits, awareness of common pitfalls can save you from disappointment. Here’s what to watch out for:
- Butter Too Cold or Too Melted:
- Mistake: Using butter straight from the fridge results in improper creaming, leading to dense biscuits. Melted butter will cause the dough to be too slack and the biscuits to spread excessively during baking.
- Avoidance: Ensure your butter is perfectly softened to room temperature (around 18-20°C or 64-68°F). It should yield to gentle pressure but not be greasy or liquid. Data suggests this is the #1 issue for inconsistent results in shortbread-style cookies.
- Overmixing the Dough (Especially After Adding Flour):
- Mistake: Vigorously mixing after the flour is added develops gluten, resulting in tough, chewy biscuits instead of the desired tender, melt-in-your-mouth texture.
- Avoidance: Mix the flour in on the lowest speed or by hand with a spatula, and only until just combined. A few streaks of flour remaining are often okay.
- Dough Too Stiff or Too Soft for Piping:
- Mistake: If the dough is too stiff, it’s a nightmare to pipe and can even split your piping bag. If it’s too soft, the biscuits won’t hold their defined swirl.
- Avoidance: Aim for a Goldilocks consistency – soft enough to pipe smoothly but firm enough to maintain its shape. If too stiff, add milk one teaspoon at a time. If too soft (perhaps your kitchen is very warm), you can chill the dough for 15-20 minutes before piping.
- Incorrect Oven Temperature or Baking Time:
- Mistake: Too hot an oven can brown the edges too quickly while the inside remains underbaked. Baking for too long results in dry, hard biscuits.
- Avoidance: Use an oven thermometer to verify your oven’s actual temperature. Bake until the edges are just pale golden. These are delicate biscuits that shouldn’t take on too much colour. Many bakers report that just 1-2 minutes can make a difference.
- Moving Biscuits While Too Hot:
- Mistake: Viennese biscuits are extremely fragile when they first come out of the oven. Attempting to move them immediately to a wire rack will likely cause them to crumble or break.
- Avoidance: Let them cool on the baking sheet for at least 5-10 minutes to firm up before carefully transferring them to a wire rack to cool completely.
By understanding these common errors, you’re already on your way to baking consistently perfect viennese biscuits.
Storing Tips for Your Recipe: Keeping Them Fresh and Delicious
Once you’ve baked your batch of beautiful Viennese biscuits, you’ll want to keep them tasting their best. Here’s how to store them effectively:
For Unfilled Biscuits:
- Cool Completely: This is the golden rule. Storing warm biscuits will lead to condensation and sogginess.
- Airtight Container: Once completely cool, store the unfilled biscuits in an airtight container at room temperature.
- Layering: If you need to stack them, place a sheet of parchment paper or wax paper between layers to prevent them from sticking or damaging their delicate piped shape.
- Shelf Life: Stored this way, unfilled Viennese biscuits will remain fresh and crisp for up to 5-7 days. Their buttery flavour might even deepen slightly after a day or two!
For Filled Biscuits (e.g., with Jam or Buttercream):
- Airtight Container: Again, an airtight container is essential.
- Refrigeration (Usually): If filled with buttercream or any dairy-based filling, they should be stored in an airtight container in the refrigerator. They will keep for about 3-4 days. Allow them to come to room temperature for about 15-20 minutes before serving for the best texture and flavour.
- Jam-Filled: Jam-filled biscuits can often be stored at room temperature in an airtight container for 2-3 days, but if your kitchen is very warm or humid, refrigeration is safer. The biscuits may soften slightly over time as they absorb moisture from the jam.
Freezing Viennese Biscuits:
Yes, you can freeze them! This is a great way to prep ahead.
- Freezing Unfilled Biscuits:
- Bake and cool the biscuits completely.
- Arrange them in a single layer on a baking sheet and freeze until solid (about 1-2 hours). This prevents them from sticking together.
- Transfer the frozen biscuits to an airtight freezer-safe container or a heavy-duty freezer bag, separating layers with parchment paper.
- They can be frozen for up to 3 months.
- To thaw, remove them from the container and let them sit at room temperature for an hour or two. They should regain their crispness. You can even refresh them in a low oven (150°C/300°F) for a few minutes.
- Freezing Dough (Less Ideal but Possible):
The piped dough can be frozen on baking sheets until solid, then transferred to a freezer container. Bake from frozen, adding a few extra minutes to the baking time. However, for the best texture, baking fresh is recommended.
Best Practice: For the ultimate Viennese biscuit experience, it’s often best to store the unfilled biscuits and fill them just before serving. This maintains the perfect contrast between the crisp biscuit and the soft filling.
Conclusion: Your Viennese Biscuit Baking Triumph Awaits!
You now possess the five key steps and the insider knowledge to create truly exquisite viennese biscuits that are the epitome of delicate, buttery perfection. From understanding the critical role of softened butter and gentle mixing to mastering the art of the swirl and the patience of proper cooling, each element contributes to that coveted melt-in-your-mouth experience. We’ve explored how simple, quality ingredients, combined with thoughtful technique, can transform your home baking into Pâtisserie-level artistry.
So, are you ready to fill your kitchen with the irresistible aroma of baking butter and vanilla? We wholeheartedly encourage you to embark on this delightful baking journey. Try this recipe, embrace the process, and don’t be afraid to make it your own with our suggested variations!
We’d love to hear from you! Did you try these Viennese biscuits? What are your favourite fillings? Share your experiences, photos, and any tips you discovered in the comments below. And if you’re hungry for more baking adventures, why not explore our recipe for Classic Shortbread or Decadent Chocolate Lava Cakes? Happy baking!
FAQs: Your Viennese Biscuit Queries Answered
Here are some frequently asked questions to help clarify any lingering doubts and ensure your Viennese biscuit baking is a sweet success:
Q1: Why are my Viennese biscuits spreading too much in the oven?
- A: This is a common issue! It could be due to several factors:
- Butter too soft/melted: If your butter was overly soft or verging on melted when you creamed it, the dough will be too slack.
- Too much liquid: If you added too much milk to adjust consistency.
- Oven not hot enough: If the oven temperature is too low, the biscuits spread before they have a chance to set.
- Not enough flour/cornflour: Double-check your measurements.
- Solution: Try chilling your piped biscuits on the baking tray for 15-20 minutes in the fridge before baking. This helps them hold their shape.
Q2: My Viennese biscuit dough is too stiff to pipe. What can I do?
- A: If your dough feels like a workout to pipe, it’s likely too stiff. Add milk, one teaspoon at a time, mixing gently after each addition, until the dough reaches a soft, pliable, yet stable consistency. Be careful not to add too much. The warmth from your hands while holding the piping bag can also help soften it slightly.
Q3: Can I make Viennese biscuits without a piping bag and nozzle?
- A: While the classic swirl is achieved with a piping bag and star nozzle, you can still make delicious Viennese-style biscuits. You could:
- Use a sturdy zip-top bag with a corner snipped off (you won’t get the defined ridges, but you can pipe shapes).
- Roll the dough into small balls and flatten them slightly with a fork (like a peanut butter cookie). The texture will be similar, though the appearance different.
Q4: What’s the best type of butter to use for Viennese biscuits?
- A: Unsalted, good-quality butter with a higher fat content (like European-style butter, often 82% or more) yields the richest flavour and most tender texture. Always ensure it’s properly softened to room temperature.
Q5: How do I get really defined swirls on my biscuits?
- A: Use a large open star nozzle (like a Wilton 1M or Ateco 824). Ensure your dough is the correct consistency – not too soft. Hold the piping bag directly perpendicular to the baking sheet and apply even pressure as you pipe. Chilling the piped dough before baking can also help maintain definition.
Q6: Can I add flavourings other than vanilla to the dough?
- A: Absolutely! Lemon zest, orange zest, or a tiny drop of almond extract can be lovely additions. Add them along with the vanilla extract. A quarter to half a teaspoon of finely ground cardamom can also add a sophisticated, warm spice. Experiment and find your favourite!
Q7: My biscuits are hard, not melt-in-the-mouth. What went wrong?
- A: This usually points to overmixing the dough after the flour was added (developing too much gluten) or overbaking. Ensure you mix just until combined and bake only until the edges are pale golden. The cornflour is key for tenderness, so ensure it wasn’t omitted.

