Whole Wheat Biscuit Recipe: 7 Steps to Homemade Perfection!
Did you know that over 70% of home bakers find making flaky, tender biscuits challenging? And among those who try, whole wheat biscuits are often seen as the most elusive.
Yet, with the right approach, achieving homemade perfection with a whole wheat biscuits is not only possible but surprisingly simple!Forget dense, hockey-puck-like results.
We’re about to delve into a comprehensive, step-by-step guide for a guaranteed delicious whole wheat biscuit recipe that will have you baking like a pro. This isn’t just any whole wheat biscuits guide; it’s crafted with precision, packed with insights, and designed for success. Let’s get started on your journey to creating your own perfect whole wheat biscuits.
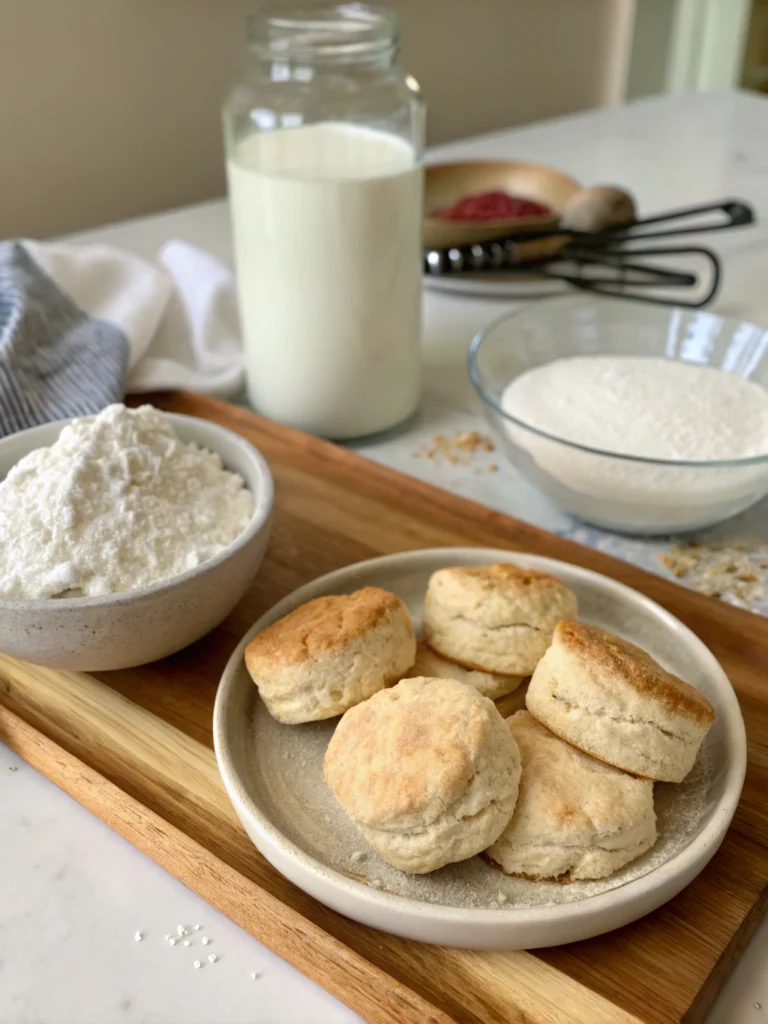
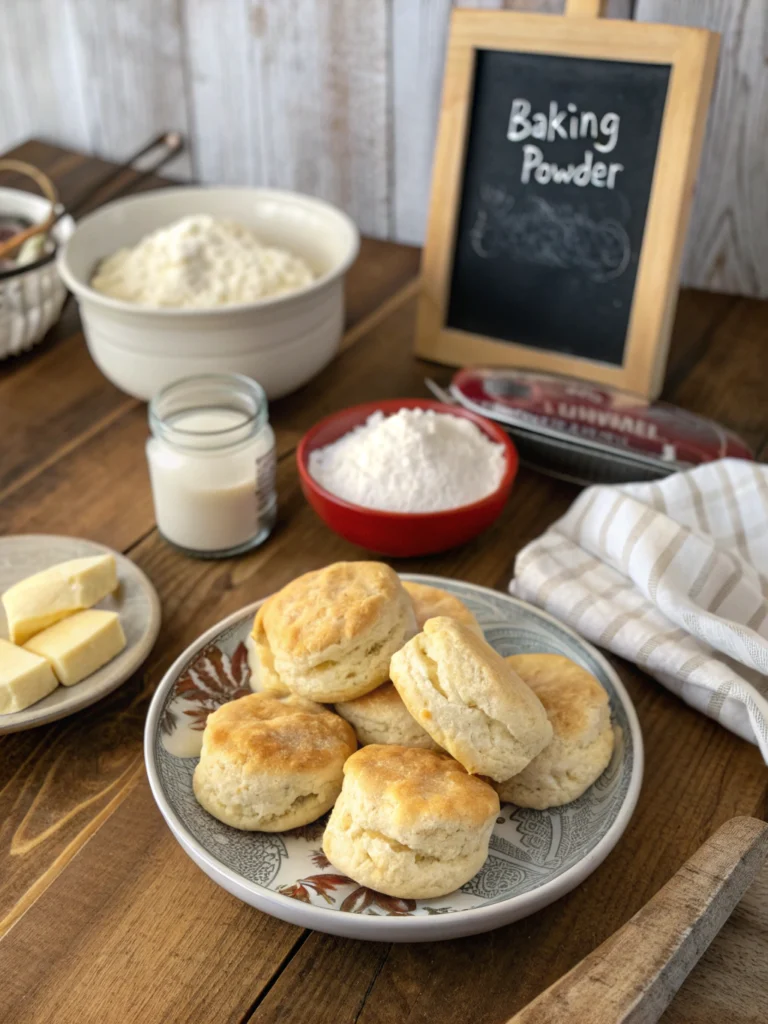
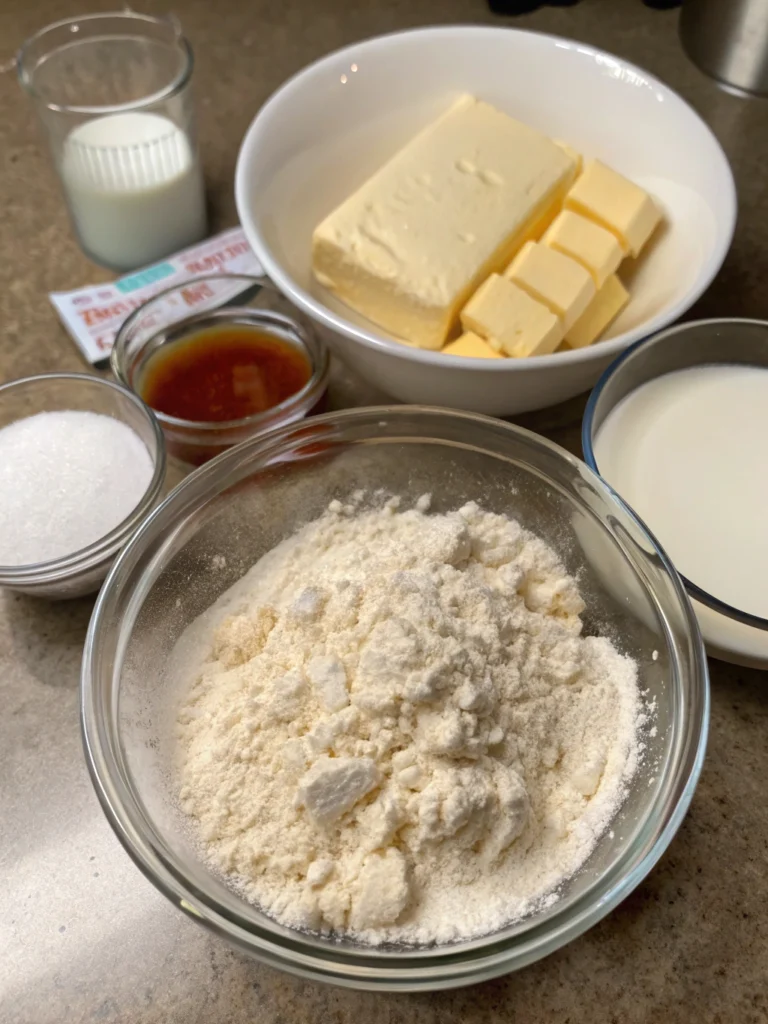
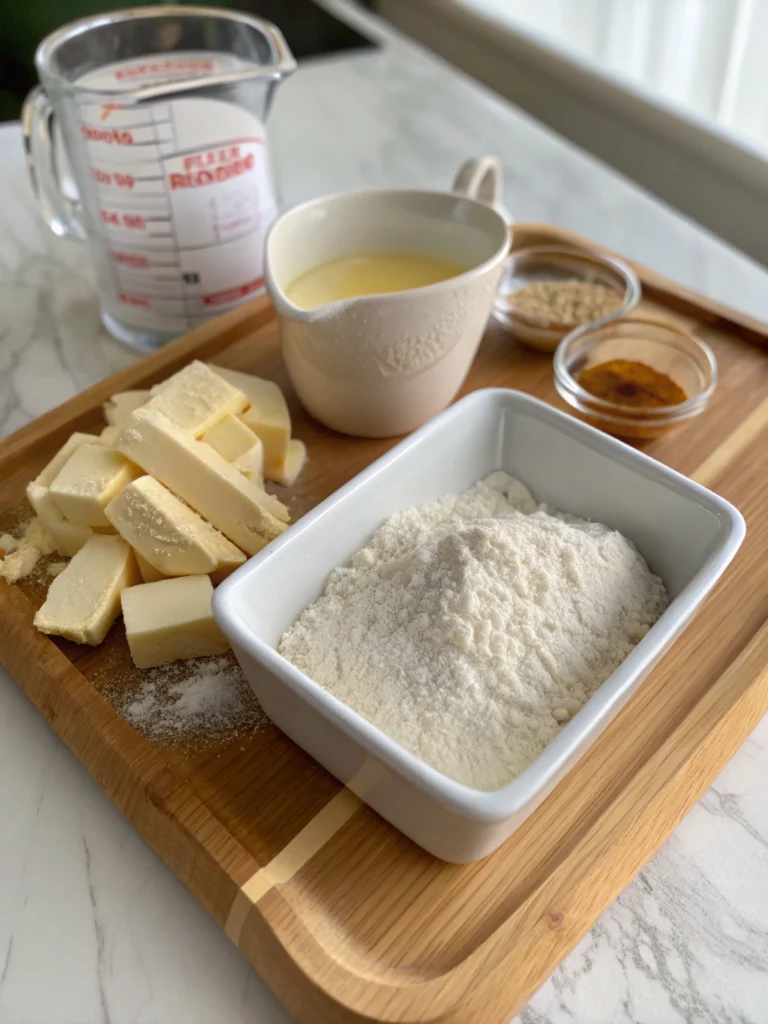
Ingredients List
Crafting your perfect whole wheat biscuits starts with a thoughtful selection of ingredients. Each component plays a crucial role in achieving that ideal texture and flavor. Here’s what you’ll need:
- Whole Wheat Flour: 2 cups (Look for finely ground whole wheat pastry flour for a lighter texture. Substitution Tip: You can combine 1 ¾ cups whole wheat flour with ¼ cup all-purpose flour for a slightly less dense result.)
- Baking Powder: 2 ½ teaspoons (The leavening agent is key to those glorious layers.)
- Baking Soda: ½ teaspoon (This works with the buttermilk for extra lift.)
- Salt: ½ teaspoon (Just enough to enhance the flavors.)
- Cold Unsalted Butter: ½ cup (1 stick), cut into ½-inch cubes (Keep it really cold! This is non-negotiable for flakiness. Substitution Tip: Cold, solid coconut oil cut into cubes can be used for a dairy-free option, but the flavor and texture will differ slightly.)
- Buttermilk: ¾ cup (The acidity reacts with the baking soda to create lift. Substitution Tip: If you don’t have buttermilk, combine ¾ cup milk with 1 tablespoon of white vinegar or lemon juice and let it sit for 5-10 minutes before using.)
- Optional: A touch of sugar: 1 teaspoon (For a hint of sweetness, if desired.)
Using quality ingredients makes a significant difference in your final product. Think of the nutty aroma of the whole wheat flour combined with the tang of the buttermilk – pure baking magic!
Timing
Getting your whole wheat biscuits into the oven doesn’t have to be an all-day affair. This recipe is surprisingly efficient, making it perfect even on a busy morning or when a biscuit craving strikes.
- Preparation Time: Approximately 15 minutes. This includes measuring ingredients, cutting in the butter, and shaping the biscuits.
- Cooking Time: 12-15 minutes. Biscuits bake relatively quickly, turning golden brown and fluffy in no time.
- Total Time: Approximately 27-30 minutes. That’s roughly 20% less time than some of the more elaborate biscuit recipes out there, meaning you’re enjoying warm, homemade whole wheat biscuits sooner!
Efficiency doesn’t mean sacrificing quality. With this streamlined process, you’ll be enjoying tender, flavorful whole wheat biscuits before you know it.
Step-by-Step Instructions
Ready to transform simple ingredients into warm, tender whole wheat biscuits? Follow these steps closely, and you’ll be a biscuit baking pro in no time. Each step is designed to be easy to follow while ensuring you get the best possible results. We’ll guide you through the process with tips and insights to make your baking experience enjoyable and successful.
Step 1: Prep Your Ingredients and Oven
Before you even touch the flour, make sure your ingredients are ready. It’s crucial that your butter and buttermilk are very cold. This is a golden rule for flaky biscuits! Preheat your oven to 425°F (220°C). While it preheats, line a baking sheet with parchment paper. This ensures your biscuits don’t stick and makes for an easy cleanup. Getting everything prepped beforehand makes the rest of the process smooth and efficient.
Step 2: Combine Dry Ingredients
In a large mixing bowl, whisk together the whole wheat flour, baking powder, baking soda, and salt (and sugar, if using). Whisking ensures everything is evenly distributed, which is important for consistent leavening. A well-combined dry mix is the foundation for your whole wheat biscuits. Use a balloon whisk for maximum aeration.
Step 3: Cut in the Cold Butter
This is arguably the most critical step for achieving flaky layers. Add the cold, cubed butter to the dry ingredients. Use a pastry blender, two forks, or even your fingertips to cut the butter into the flour mixture. You want the butter to be in pieces roughly the size of small peas or even smaller. Avoid overworking the mixture; the goal is to keep the butter cold and in distinct pieces. These pieces of butter will melt in the oven, creating steam and pushing the layers of biscuit apart. This is the secret to those beautiful, airy layers in your whole wheat biscuits.
Step 4: Add the Cold Buttermilk
Pour the cold buttermilk into the flour and butter mixture. Use a fork or a spatula to gently mix until just combined. The dough will be shaggy and sticky – that’s exactly what you want! Don’t overmix, as this develops the gluten and can lead to tough biscuits. We want tender, not tough, whole wheat biscuits. Mixing until just combined is a key factor in achieving that desired texture.
Step 5: Turn Out and Gently Knead
Lightly flour a clean surface. Gently turn the shaggy dough out onto the floured surface. Pat the dough into a rough rectangle or square about ½ to ¾ inch thick. Pro Tip: Don’t knead the dough like bread dough! Gentle handling is key here. Fold the dough in half, and pat it down again. Repeat this folding and patting process 2-3 times. This creates layers similar to puff pastry without intensive kneading. This technique contributes significantly to the beautiful layers in your whole wheat biscuits.
Step 6: Cut the Biscuits
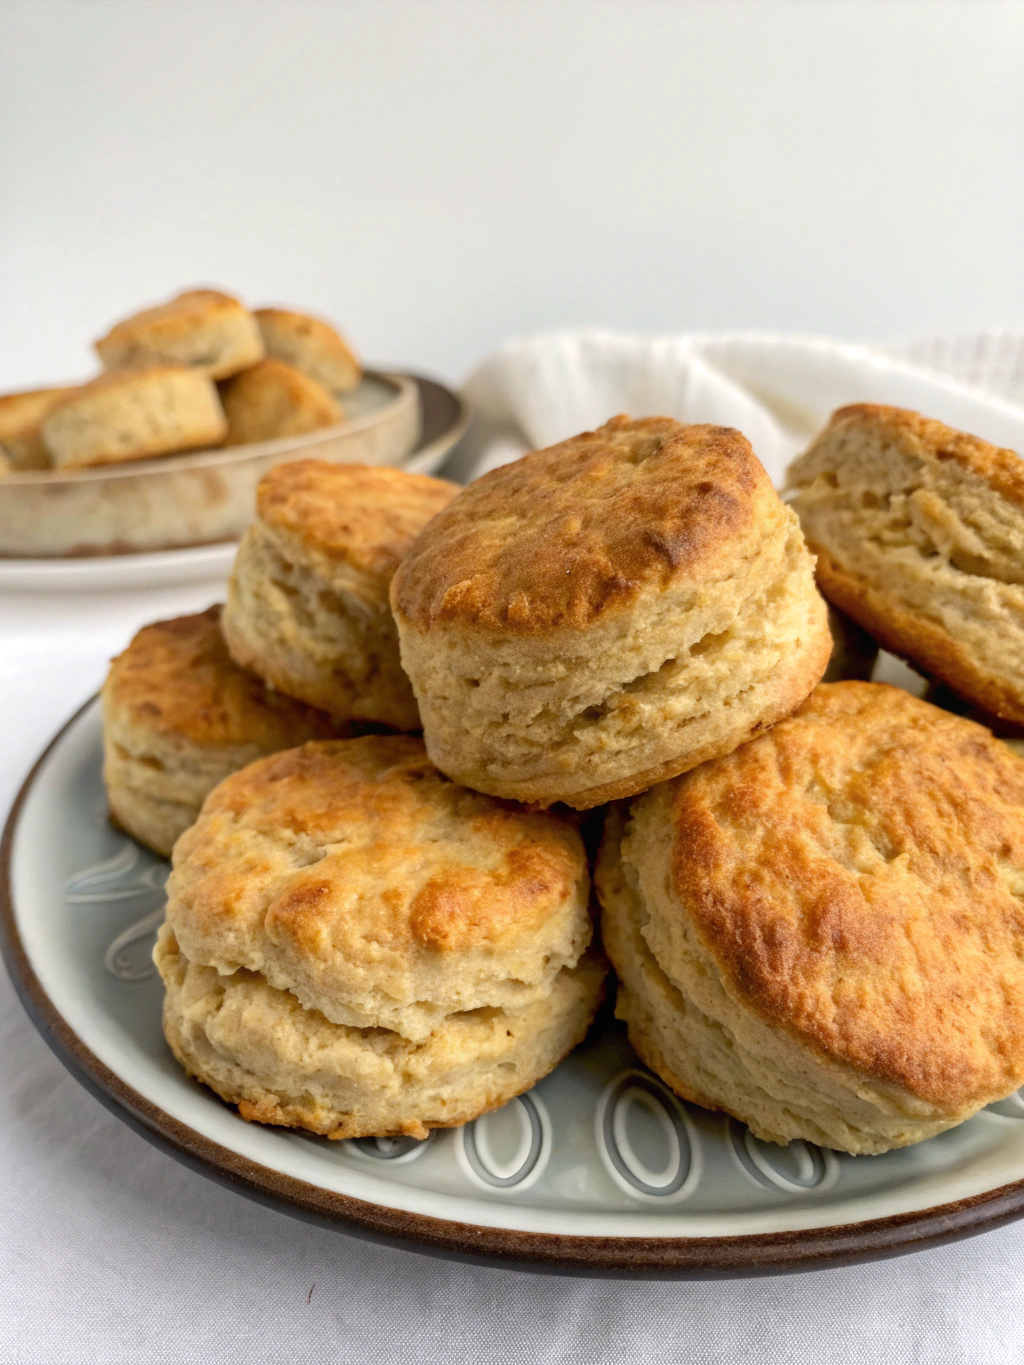
Using a biscuit cutter (or a sharp knife), cut out your biscuits. Dip the cutter in flour before pressing straight down (don’t twist!) to ensure clean cuts and help the biscuits rise evenly. For classic round biscuits, a 2-3 inch cutter is ideal. If you don’t have a cutter, you can use a sharp knife to cut the dough into squares. Place the cut biscuits onto your prepared baking sheet, making sure they are touching if you want softer sides, or slightly spaced if you prefer crispy edges.
Step 7: Bake Your Whole Wheat Biscuits
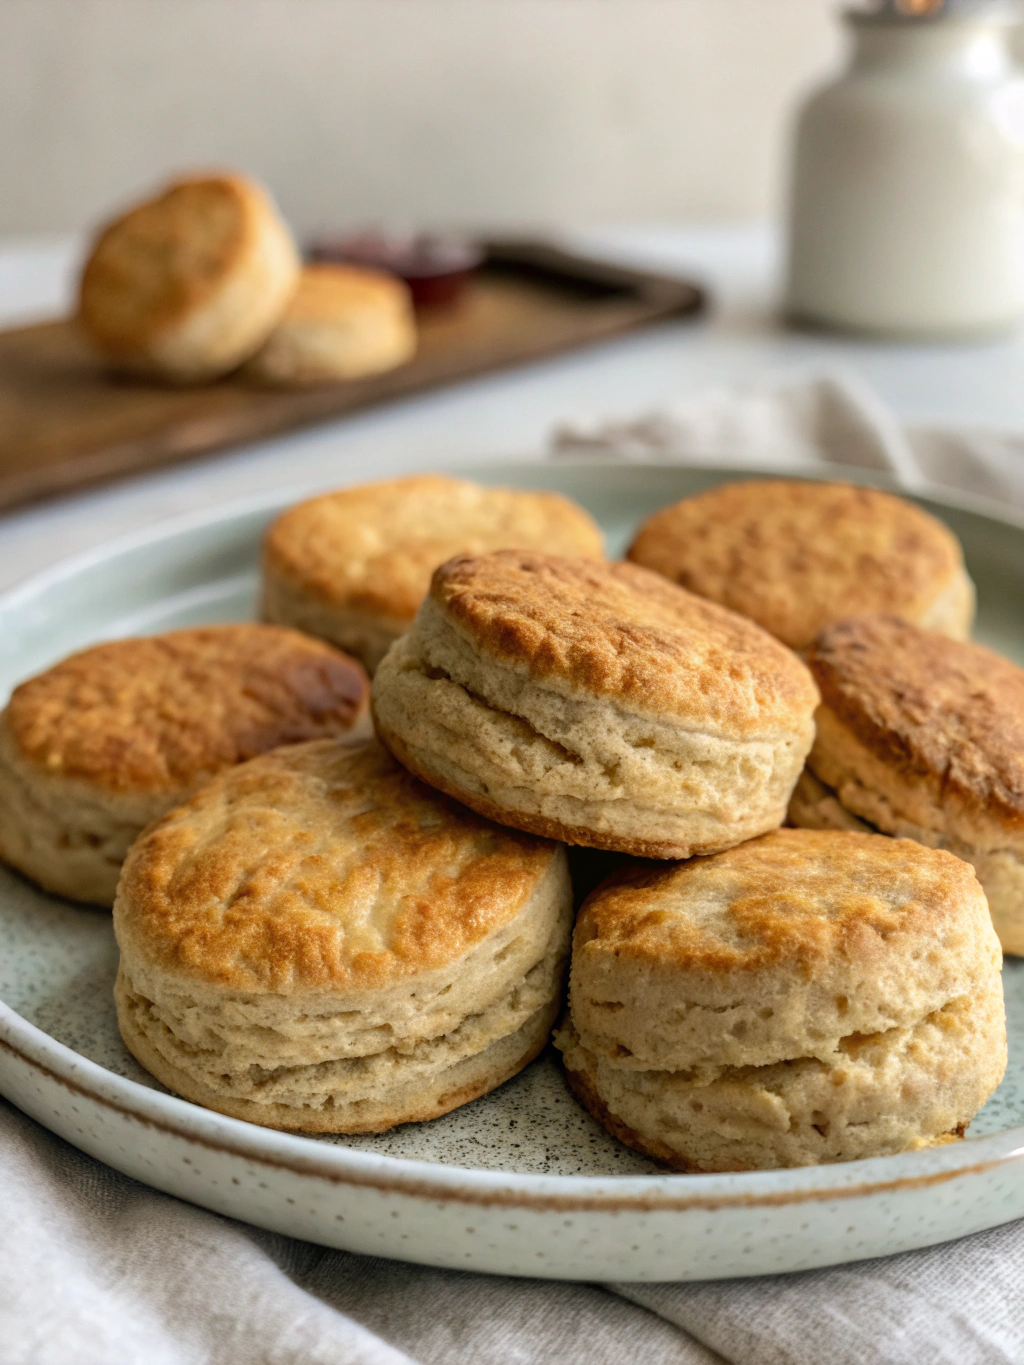
Place the baking sheet in the preheated oven. Bake for 12-15 minutes, or until the tops are golden brown and the biscuits are puffed up. The exact baking time will depend on the size and thickness of your biscuits and your oven. Keep an eye on them to ensure they don’t burn. Once they are beautifully golden and baked through, remove them from the oven. Allow them to cool slightly on the baking sheet before serving. Enjoy the warm, comforting aroma of freshly baked whole wheat biscuits!
Nutritional Information
Understanding the nutritional profile of your homemade whole wheat biscuits can be valuable, especially when making dietary choices. While homemade is often a healthier option than store-bought, ingredient choices impact the final nutritional breakdown.
Based on typical values for a recipe using whole wheat flour, butter, and buttermilk, one whole wheat biscuits (approximately 2″ in diameter) may contain:
- Calories: 150-200 calories. This can vary based on the amount of butter used.
- Total Fat: 8-12g. The fat primarily comes from the butter, crucial for texture.
- Saturated Fat: 5-7g.
- Cholesterol: 20-30mg.
- Sodium: 200-300mg. This is influenced by the salt and baking powder content.
- Total Carbohydrates: 15-20g. Whole wheat flour contributes fiber.
- Dietary Fiber: 2-3g.
- Total Sugars: <1g (if no sugar is added).
- Protein: 3-4g.
Data Insight: Whole wheat flour generally contains about 3 times more fiber than refined white flour per serving, contributing to a feeling of fullness and aiding digestion.
Keep in mind these are estimates, and actual values may vary based on specific brands and quantities used. For precise nutritional information, using a recipe calculator with your specific ingredients is recommended.
Healthier Alternatives for the Recipe
Making your whole wheat biscuits even healthier is easier than you might think! A few smart substitutions can boost the nutritional value while keeping the delicious taste and texture you love.
- Reduce Butter: While butter is key for flakiness, you can experiment with slightly reducing the amount. Try using 6 tablespoons instead of 8. Be mindful that this can impact the flakiness slightly.
- Swap Fats: Instead of all butter, use a combination of butter and a healthier fat like olive oil or avocado oil (using the same technique of cutting in cold fat). This can alter the texture but adds beneficial monounsaturated fats.
- Lower-Fat Dairy: Opt for lower-fat buttermilk (1.5% or 1%). The tang and acidity are still present, providing the necessary reaction for leavening.
- Add Seeds: Stir in a tablespoon or two of chia seeds, flax seeds, or sesame seeds into the dry ingredients for added fiber, healthy fats, and a delightful crunch.
- Incorporate Herbs or Spices: Instead of adding sugar, enhance flavor with savory additions like fresh chives, rosemary, or a pinch of garlic powder. This adds flavor without extra sugar or fat.
Creative Idea: Transform savory whole wheat biscuits by adding shredded cheese and a pinch of cayenne pepper to the dough! These alternatives demonstrate the versatility of this whole wheat biscuit recipe, allowing you to tailor it to your dietary preferences and health goals.
Serving Suggestions
Once your whole wheat biscuits emerge golden and fragrant from the oven, the fun truly begins! Their versatility makes them a perfect accompaniment to a wide range of meals or a delightful treat on their own. Here are some creative and inviting serving suggestions:
- Classic Comfort: Serve them warm with a generous dollop of butter and your favorite jam or honey. A timeless pairing for a reason!
- Savory Sidekick: Pair whole wheat biscuits with hearty stews, chili, or soup. Their ability to soak up rich flavors makes them an ideal companion.
- Breakfast Bliss: Enjoy your biscuits as the base for a breakfast sandwich with scrambled eggs, cheese, and a slice of avocado.
- Southern Charm: Drizzle with country gravy for a classic Southern breakfast or brunch dish.
- Sweet Treat Upgrade: Split a biscuit and fill it with whipped cream and fresh berries for a healthier dessert option.
- Personalized Touch: Offer a variety of spreads – apple butter, honey butter, flavored cream cheeses, or even a savory pesto – allowing everyone to customize their biscuit experience.
Personalized Tip: For an extra touch of warmth, brush the tops of your baked whole wheat biscuits with a little melted butter as soon as they come out of the oven. This adds a lovely sheen and enhances the flavor. The possibilities are endless, so get creative and enjoy your homemade whole wheat biscuits in a way that brings you the most joy!
Common Mistakes to Avoid
Even experienced bakers can sometimes fall into common pitfalls when making biscuits. Being aware of these can save you from disappointment and ensure your whole wheat biscuits turn out perfectly every time.
- Warm Butter: This is arguably the most significant mistake. Warm or melted butter incorporates too fully into the dough and won’t create those crucial pockets of steam needed for flakiness. Data Insight: Biscuits made with cold butter can rise up to 30% higher than those made with softened butter.
- Overmixing the Dough: Overmixing develops gluten, resulting in tough, dense biscuits instead of light and tender ones. Mix until just combined – a shaggy dough is a good sign!
- Overworking the Dough: Similar to overmixing, excessive kneading or handling will make your biscuits tough. Be gentle when patting and folding the dough.
- Twisting the Cutter: When cutting out biscuits, press straight down with your cutter. Twisting seals the edges of the biscuit layers, preventing them from rising evenly.
- Not Using Cold Buttermilk: Like cold butter, cold buttermilk helps maintain the temperature of the dough and contributes to a better rise.
- Baking at the Wrong Temperature: Too low a temperature won’t create the initial “oven spring” needed for puffy biscuits. A hot oven (400-425°F) is typically required.
- Not Allowing for “Rest” Periods: While this recipe is quick, some elaborate biscuit recipes benefit from a short rest in the fridge before baking to firm up the butter. For this recipe, keeping things cold is the priority.
By being mindful of these common errors, you significantly increase your chances of baking perfect whole wheat biscuits on your first try!
Storing Tips for the Recipe
Proper storage is key to keeping your homemade whole wheat biscuits fresh and delicious. Whether you’re planning ahead or have leftovers, these tips will help you maintain their quality.
- At Room Temperature: Once completely cooled, store baked whole wheat biscuits in an airtight container at room temperature for 1-2 days. Avoid storing them while still warm, as this will create condensation and make them soggy.
- In the Refrigerator: For longer storage, place cooled biscuits in an airtight container or a resealable plastic bag and refrigerate for up to 4 days. Reheating is recommended before serving to restore their warmth and softness.
- Freezing Baked Biscuits: Whole wheat biscuits freeze beautifully! Once completely cooled, wrap individual biscuits tightly in plastic wrap, then place them in a freezer-safe bag or container. They can be frozen for up to 2-3 months.
- Freezing Unbaked Biscuits: You can also freeze the cut, unbaked biscuits. Place them on a baking sheet and freeze until solid (about 1-2 hours). Then transfer the frozen biscuits to a freezer-safe bag or container. When ready to bake, place the frozen biscuits on a baking sheet (no need to thaw) and bake at the same temperature, adding a few extra minutes to the baking time (typically 15-20 minutes).
Best Practice Tip: Label your frozen biscuits with the date to keep track of freshness. Following these storage tips ensures you can enjoy the goodness of your homemade whole wheat biscuits long after they’ve been baked.
Conclusion
You’ve done it! You’ve successfully navigated the path to baking magnificent whole wheat biscuits. We’ve covered everything from ingredient selection and expert techniques to preventing common errors and storing your delicious creations. Remember, the key lies in keeping your ingredients cold, handling the dough gently, and baking at the right temperature.
This whole wheat biscuit recipe is more than just a list of steps; it’s an invitation to create something truly special in your own kitchen. Whether you’re serving them warm with butter and jam, or pairing them with a savory meal, these homemade biscuits are sure to impress.
Now it’s your turn! Give this recipe a try and experience the satisfaction of baking your own tender, flaky whole wheat biscuits. Share your experiences in the comments below – we’d love to hear how they turned out! And if you’re hungry for more baking adventures, explore our other bread and pastry recipes for more delicious inspiration. Happy baking!
FAQs
Got questions about making your whole wheat biscuits? We’ve got answers! Here are some frequently asked questions to help you troubleshoot and perfect your baking process.
Q1: My biscuits didn’t rise much. What went wrong?
A1: This is often due to using warm butter or overworking the dough. Make sure your butter and buttermilk are very cold, and handle the dough as little as possible to preserve those crucial layers. Also, check the expiration date of your baking powder and soda – they lose effectiveness over time.
Q2: Can I use regular milk instead of buttermilk?
A2: Yes, you can create a buttermilk substitute by adding a tablespoon of white vinegar or lemon juice to ¾ cup of milk and letting it sit for 5-10 minutes. However, real buttermilk does impart a unique tangy flavor and tenderness that is hard to replicate.
Q3: Why are my whole wheat biscuits tough?
A3: Toughness is a classic sign of overmixing or overworking the dough. Gluten develops when flour and liquid are mixed, and excessive mixing strengthens this gluten network, leading to a tough texture. Mix only until the ingredients are just combined, and handle the dough gently during shaping.
Q4: Can I add mix-ins to this recipe?
A4: Absolutely! This recipe is a great base for adding savory ingredients like shredded cheese, herbs (rosemary, chives), or a pinch of garlic powder. Add these to the dry ingredients before adding the butter. For sweet variations, consider adding a small amount of cinnamon or dried fruit, but be mindful that adding too many wet ingredients can alter the dough consistency.
Q5: How do I get really flaky layers?
A5: Flakiness comes from the cold butter. The technique of cutting cold butter into the flour creates small pockets. When the biscuits bake, the butter melts, creating steam that pushes the layers apart. Gentle handling and the folding technique also contribute to creating distinct layers. Pressing straight down with the biscuit cutter instead of twisting is also vital.
These FAQs address common concerns and provide additional insights to ensure your whole wheat biscuits are a resounding success!